What Lies Beneath Your Planned Shed Site
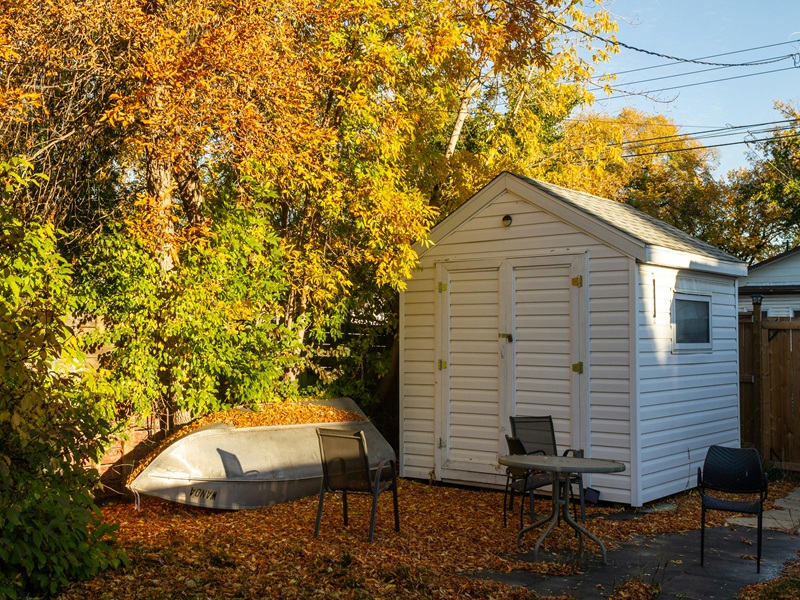
A shed site can look clear at ground level while pipes, cables, easements, and poor drainage conditions remain hidden below. Discovering one of these problems after excavation starts can force you to move the shed, redesign its footings, or pay for urgent repairs.
A basic site check should happen before you order materials or lock in an installation date. Think of it as a quality control checklist for the entire project, helping you identify potential issues before construction begins. The process covers more than measuring the shed’s footprint. You need to understand what crosses the site, which areas must remain accessible, and how water will move once the roof and slab are in place.
Map Existing Utility Lines First
Start with property plans, utility records, and any documents supplied when you bought the property. Mark known sewer pipes, stormwater drains, water services, electrical cables and communications lines on a rough site sketch. Remember that older records may be incomplete, especially where previous owners have added garden drainage or rerouted services.
A physical inspection can reveal clues that plans miss. Look for inspection openings, grated pits, downpipe connections, meter boxes, and sections of paving that appear newer than their surroundings. Draw the proposed shed footprint on the ground with marking paint or string, then compare it with every visible service point. Pipes often follow a fairly direct route, but assuming their path can lead to an expensive mistake.
A licensed surveyor may be useful where boundaries, setbacks or service locations are unclear. This guide to surveying a shed site explains why property information should be checked before a backyard structure goes ahead.
If records suggest a sewer or drain runs near the footprint, arrange professional checks before digging. Melbourne homeowners and businesses dealing with suspected obstructions or sewer issues can contact LCL Plumbing & Drainage for drain clearing and CCTV drain camera diagnostics. Camera work can confirm a pipe’s internal condition, while locating equipment can help establish its route and depth.
Never rely on a hand-drawn sketch alone. Confirm underground services through the appropriate utility enquiry service and qualified trades before excavation begins.
The Risk of Building Over Easements
An easement gives another party defined rights to use part of a property for a particular purpose. Common examples allow access to sewer lines, stormwater infrastructure or shared driveways. Although the land remains part of your block, the easement may limit where permanent structures can be placed.
The first step is to obtain the property title, deposited plan or equivalent land record. A basic explanation of property easements shows how these rights can affect development and access. The exact rules vary between councils, states and service authorities, so general online guidance can’t replace advice based on your property documents.
Plot the easement against the proposed shed dimensions. A site plan easement guide can help you recognise how access corridors are usually represented. Don’t assume a small garden shed will automatically receive approval. Size, foundation type and the infrastructure beneath the land can all affect the decision.
Building across an easement may obstruct maintenance crews or prevent machinery from reaching a damaged pipe. An authority could require the structure to be altered or removed, leaving the owner responsible for the cost. The easement may also reduce the genuinely buildable area of the block, as this overview of invisible property restrictions illustrates.
If the footprint overlaps an easement, ask the relevant authority and council what approval is needed. Keep written responses with your shed plans. A verbal comment from a contractor or neighbour won’t protect you if access is required later.
Diagnose Hidden Pipe Faults Early
A pipe doesn’t need to sit directly beneath the shed to affect the project. Cracked stormwater lines, displaced joints and partial blockages can saturate nearby soil. Once a slab or compacted base covers the area, moisture may find a new route and cause soft patches, erosion or movement around the shed.
Watch the site during and after steady rain. Water that remains for more than a day, unusually green strips of grass, unpleasant smells or isolated areas of soft ground can indicate a drainage fault. Repeated gurgling from nearby fixtures or slow outdoor drains also deserves attention. These symptoms should be investigated before soil preparation begins.
CCTV inspection is often suitable for accessible drainage and sewer lines because it provides a view inside the pipe without excavating the full route. A technician may identify tree root intrusion, accumulated debris, collapsed sections, or joints that have shifted. The footage also helps distinguish a local obstruction from structural damage that requires excavation and repair.
Document any inspection with a simple plan, photos, and the approximate depth of the affected line. If repairs are needed, complete them before pouring a slab or installing ground anchors. Leave inspection openings and maintenance points accessible after the shed is finished.
Think about future access as well as the current condition. A pipe that works properly today will still need maintenance at some point. Moving the shed half a metre during planning may preserve a clear service path and avoid dismantling wall panels several years later.
Establish Proper Ground Fall
Water should move away from the shed without being redirected towards the house, a neighbouring block or a low section of the yard. Check the natural fall with a laser level, builder’s level or a long straightedge and spirit level. Visual judgement can be misleading across a short distance, particularly on uneven lawns.
Prepare a stable base suited to the shed design and local soil. Remove vegetation, roots and loose organic matter before adding compacted material in controlled layers. Where a concrete slab is planned, the finished slab should generally sit above the surrounding ground so surface water can’t readily cross the edge. Footing design and slab levels should follow the manufacturer’s requirements and any local approval conditions.
Roof runoff also needs a planned destination. Fit gutters and downpipes where the roof area or local requirements call for them, then connect the system to an approved discharge point. Letting a downpipe empty beside one corner can wash fines out of the base and leave doors out of alignment. It can also create a damp strip that encourages corrosion or timber decay, depending on the shed materials.
Recheck the levels after excavation because removing topsoil can change the apparent fall. Allow for paths, garden edging and future landscaping that might trap water against the walls. A narrow drainage channel may help in a constrained site, though it must discharge legally and remain accessible for cleaning.
Before the first footing goes in, stand at the marked shed corners after rain and follow the water’s path. If it pools inside the footprint or heads towards a service opening, adjust the levels and drainage plan while the ground is still easy to work.