How to Add an Outdoor Water Tap to Your Shed
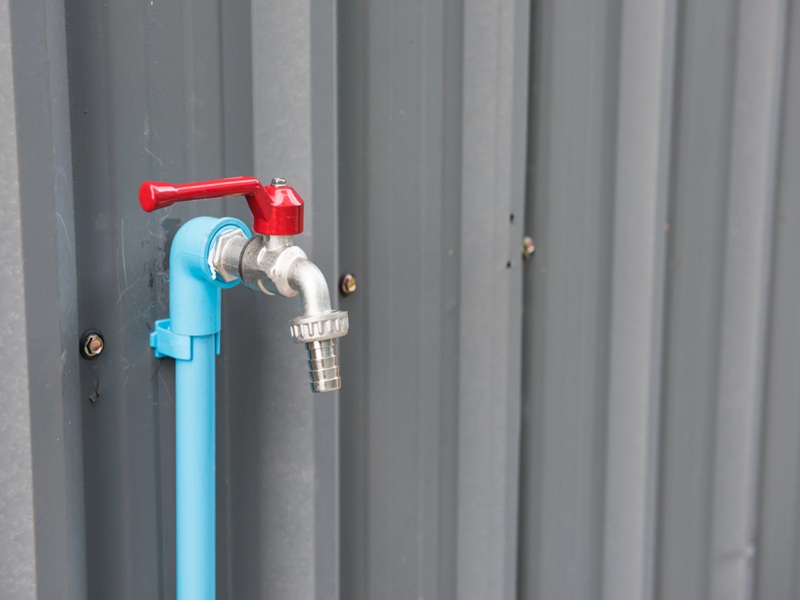
How to Add an Outdoor Water Tap to Your Shed
You’ll need a licensed plumber to assess your existing water supply, find a suitable connection point, run new pipework to the shed and install the tap in line with Australian plumbing standards.
Having a dedicated outdoor tap makes everyday jobs easier, especially if your shed sits at the far end of your backyard. You can wash gardening tools, clean outdoor equipment and fill buckets without running a long garden hose from the house.
This guide covers each stage of the process, from choosing suitable pipes and fittings to checking water pressure, backflow protection and leaks.
Assess the Existing Water Supply
If you already have an outdoor tap near your house, you can easily extend its cold-water supply line to your shed. If there isn’t a suitable connection nearby, connecting a new branch to your home’s main cold-water supply may be another option.
If your shed sits 15 to 20 metres from the house, the existing pipe needs enough capacity to deliver water over that distance. Consider how you plan to use the new tap, especially when someone is showering, doing laundry or watering the garden at the same time.
According to Caboolture Plumbing and Hot Water, water pressure, pipe size and the number of fixtures in use can all affect how well an outdoor tap performs. A larger supply pipe or a different connection point may be needed if the existing system cannot provide enough water.
Select an Outdoor Tap Location
If you use your shed to store gardening tools or wash outdoor equipment, installing the tap near the entrance gives you quick access to water. Your plumber can help you choose a location based on how you plan to use the tap.
- Hose reach – Make sure your garden hose can reach the areas you regularly water or clean.
- Clearance – Leave enough room to turn the tap handle and connect a hose without hitting the shed wall or door.
- Walkways – Keep the tap and connected hose away from entrances and frequently used paths.
- Drainage – Choose an area where water can drain away without pooling around the shed or its foundations.
- Mounting surface – Use a sturdy fixing point that can support the tap and connected pipework, especially on corrugated metal sheds.
Choosing the wrong tap location can mean paying a plumber to relocate the tap and reroute the water pipes after installation. You may also need to repair holes in the shed wall or redo sections of underground pipework.
Plan the Water Pipe Route
The water pipe needs a route from your home’s existing supply to the shed. The best route depends on the distance between the buildings and what sits between them. For example:
- Across a lawn: An underground pipe route involves digging a trench and restoring the lawn after installation.
- Past a concrete path or driveway: Running the pipe around the paved area can avoid cutting through concrete.
- Along a house or shed wall: An above-ground pipe route may work for shorter distances.
- Through a garden bed: Choose a route that avoids established tree roots and areas where you regularly dig or plant.
A poorly planned route can leave exposed pipes vulnerable to garden tools, lawnmowers or accidental digging.
Plan Around Underground Utilities and Pipe Requirements
Your backyard may contain electrical cables running to the shed, gas pipes, sewer lines or irrigation pipes. Damaging these services can interrupt utilities or create serious safety hazards.
You can request underground utility plans through Before You Dig Australia (BYDA). However, these plans may not show private pipes and cables installed within your property. Additional checks may be needed before excavation.
Pipe and Fitting Requirements Checklist
| Water Supply Pipes | Pipe Fittings and Supports | Compliance Requirements |
|
Copper pipes PEX pipes PE pipes (polyethylene pressure pipes) |
Elbows Tees Connectors Pipe clips & brackets |
Underground protection UV protection WaterMark certification |
You don’t need to purchase the pipes, fittings and support yourself if you’re hiring a plumbing service. Many plumbers can supply these materials as part of their installation quote. Ask for an itemised quote so you can see what’s included, such as pipework, fittings, excavation and any surface repairs..
Connect the Water Supply and Install the Outdoor Tap
Follow these steps to connect the new water supply line and install the outdoor tap on your shed.
Step 01. Turn off the main water supply and release any remaining pressure from the pipes before starting work.
Step 02. Locate the connection point and install a tee fitting to create a separate supply line for the shed.
Step 03. Fit a valve on the new branch line so you can shut off water to the shed tap without interrupting the rest of your home’s supply.
Step 04. Extend the water pipe along the planned route. Secure exposed sections with pipe clips.
Step 05. Fix a suitable mounting bracket or backing support to the shed wall. Corrugated metal sheds may need additional reinforcement. Timber and masonry walls require appropriate fixings.
Step 06. Secure the tap to its mounting point and connect it to the new water line. Support the pipework to prevent movement or strain on the fittings. The tap should sit firmly against the shed wall without moving when you turn the handle or attach a garden hose.
The plumber will then complete the required protection and testing before putting the new supply into service.
Inspect the Outdoor Tap for Backflow, Pressure & Leaks
Start by checking the backflow protection. A garden hose left submerged in a bucket of fertiliser or cleaning solution can create a contamination risk if water flows back into your home’s drinking water supply.
Next, turn on the tap and check the water flow. The water should run steadily without unusual pressure drops. Ask the plumber to demonstrate the tap’s operation and explain any pressure issues they identified during testing.
Inspect the tap connection, exposed pipe joints and isolation valve for dripping or moisture. Check that the tap stays firmly mounted when you turn the handle or attach a hose.
You can carry out basic visual checks yourself, but a licensed or registered plumber must handle regulated water supply work under the applicable state or territory rules.
Get the Tap Location Right the First Time
Installing an outdoor tap in the wrong location can lead to unnecessary plumbing work and extra costs. You may need to relocate the tap, extend the pipework or repair holes in your shed wall. Using unsuitable pipes or overlooking underground electrical cables, gas lines and drainage can result in costly damage. Taking the time to get these details right can help you avoid redoing the installation later.