Creating Better DIY Project Videos: Simple Audio and Editing Tips for Shed Owners
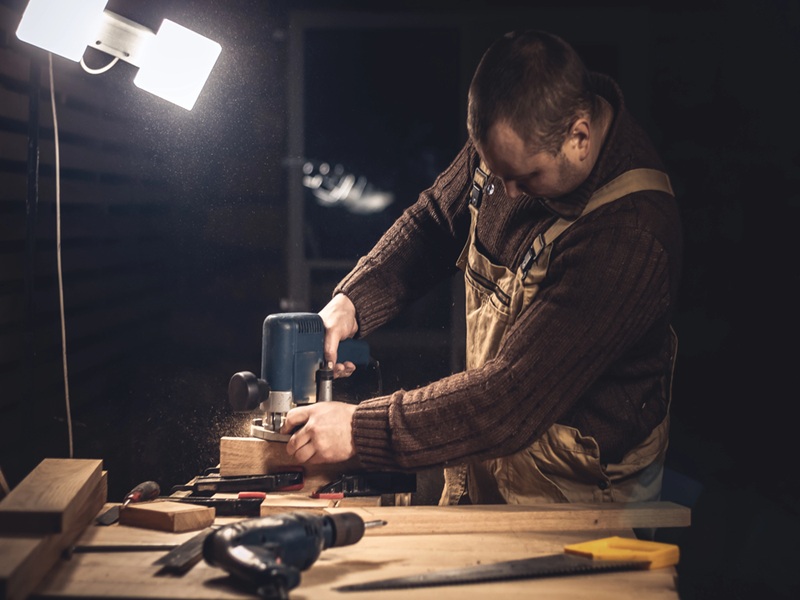
A big part of the shed scene down under is doing your own work. There are many homeowners and tradesmen that enjoy doing their jobs and taking photos to show how it’s done, like building a new workshop, installing storage systems, or repairing steel structures. Besides sharing the finished project, the process of video recording, especially a DIY project, has also proven increasingly popular for people to show techniques, share problems, and help other learners by sharing their experience.
However, the secret to a great DIY video is not just to point at the project and record what you do through the camera. A good video includes clear explanations without talking too much, proper sounds in the background, good editing that shows the right things in the right amounts for the right times, etc., which is why it is a great way to make the watchers understand and enjoy the footage.
Some basic video making tips and tricks will result in much better finished videos regardless of whether it is someone’s documentation of a shed project made in a weekend or a workshop tutor that is created professionally.
Why DIY Project Videos Are Becoming More Popular
It is a great way to share information through online videos. Rather than going through a written step-by-step explanation, creators may show visually every step in the process. The example is one where the author records his process to insulate a shed, mount shelves on a wall, install a fresh air inlet, or maintain roller doors. Viewers get to see the actual tools, materials, and the methods used.
Documenting your DIY projects brings a lot of advantages:
- Hands-on demonstration: A clear step-by-step of a project is easier for viewers to grasp.
- Knowledge sharing: Shed experts can help novice shed builders by passing on their top tips.
- Project tracking: Videos are a great way to preserve records of your work and repairs.
- Community bonding: Those who make content can interact with other craftsmen and exchange thoughts.
A great style and visual layout can be important in the case of a video which will explain rather than just showcase the end result.
Planning Your Video Before Recording
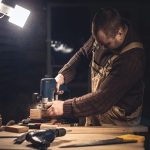
Some early organization work will definitely cut down editing time. It is also a good idea at this point to work out what you want to tell in the video and how to deliver the information. As for the main point, identify it and then build the story around it. If we talk about a video about how to make a storage workbench, it may include selecting the right materials, measurements, the process of assembly, and the final setup.
Recording can become less overwhelming by first dividing the whole project up into small parts. This method makes the entire recording session less daunting.
Along these lines, good lighting and camera placement contribute a great deal. Workshops and steel shelters often have poor lighting conditions and the use of only a single entrance for daylight can make areas in shadow or not visible at all. Setting up the camera so that the main part (work space) of the subject is fully shown enables viewers to pick up what’s going on without any problem.
Another point to mention that the ambient noise level should be low before starting to record. The sound from the machinery, fans, wind and other noises of the workshop can greatly hinder the recording of spoken explanations.
The Importance of Clear Audio in DIY Videos
Usually visual is what we first notice, and audio is ignored at the same time although it plays an important role. A video which visually looks great may not keep the audience engaged if they are struggling to understand instructions. When making a video tutorial, you should use a microphone to make sure that your voice is understood very well. Avoid being far from where the recording takes place. If the workshop is a bit loud, it would be better to record the explanations at a different time.
In most cases, the choice of background music will influence the audience and make the video more enjoyable. Nonetheless, spoken instructions have to be louder than the music so as the music doesn’t cause the viewers to look away or stop seeing the demonstrations. Sometimes the recorded audio contains parts that are unnecessary, pauses or sounds that don’t serve any purpose when the final video is made. Getting rid of them is very helpful as far as creating a smooth video is concerned.
As long as audio is concerned, if you have a particular audio in mind for background purposes and you would like not to make mistakes by overwriting the whole video, then an online mp3 cutter can really be helpful as a tool to trim the unwanted parts out of your audio file and help you pick up the required pieces for the project at hand. This could be, e.g., when you want to prepare background music or just the sound you want to add to your video.
In fact, DIY videos shouldn’t all have the same feel as professional production videos. The idea is that the audio should go hand in hand with the information and make the whole experience less stressful for the viewers.
Simple Video Editing Techniques That Boost Your Videos
After having the recording finished, editing will combine everything with no problem. As an illustration of what I was saying, a few minutes of the simplest edit can help a normal workshop recording to become one the viewers can enjoy without difficulty.
Leave Out Footage That Is Not Necessary
Generally speaking, a long video may include many things that are not useful such as repeated actions, camera adjustments, and also parts where the subject changes very little. Removing these portions will result in a more focused video.
To give you an idea, if someone filmed ten minutes assembling a shelf, the video may only be based on a minute where, for example, he was accurately measuring the pieces and the time of fixing them with very good quality footage.
Add Simple Explanations
Very small text or captions, for example, could be utilized to show viewers what kind of tools, materials or measurements are in use. Also, they may serve as a visual safety warning when the speaker doesn’t talk or even when the video is soundless. Therefore, they are quite useful especially for silent viewing!
Be Discreet with Background Music
Background music can help create a comfortable atmosphere and it can be a good idea to use it in the opening segments and end sections of the video or presentation. Make sure the music matches the theme of the video and the music is at the background level so it doesn’t drown out the speaker.
Keep Transitions Simple
Most often, it’s best to go with a simple cut or transition rather than using a whole palette of different ones. While effects, visuals, and animations can make a scene stand out, the prime concern is the accurate and un-distracted transmission of the message.
Choosing the Right Equipment for Workshop Recording
To make your DIY videos useful without going overboard with professional equipment, you don’t need a fancy camera system. In fact, a good quality camera phone with an external microphone and tripod may very well be all you need for your workshop tutorials. However, to prevent shaky footage a basic tripod is recommended and lighting is an important aspect of the video production. An external microphone can significantly enhance the quality of your speeches and additional lighting is likely to be of great benefit if you record videos inside a somewhat dimly lit shed.
For lengthy DIY projects, it might be a much better idea to record a series of short videos rather than trying to shoot the whole project in one take. It is much easier that way to sort through the clips and edit the final video. Besides, it is also important to be safe by having your equipment stored away from moving machinery, electricity hazards, areas with dust, or where materials are being manipulated.
Making Your DIY Content More Useful to Viewers
An effective DIY video not only shows off a completed product but most importantly it offers an answer to the viewer’s question. Share insights about why you picked a particular material, highlight the common mistakes you make, the kind of mistakes others tend to make. Provide the viewer with a piece of advice you can share and that others can put into practice. Moreover, if a project involves work with electricity, structural modifications or some other special task, you should indicate when the viewer must seek a licensed professional.
Categorisation of content is a great feature because it will be the major help in finding the right stuff for users. For example, different categories for shed maintenance, insulation, ventilation, storage, and workshop improvements will certainly make it easier for people to find the right videos. Besides that, consistency is another point you cannot ignore. Publishing content regularly may attract people who are practically interested in home improvement and shed projects.
Final Thoughts
In fact, filming engaging do-it-yourself videos without having expensive shooting cameras or complex software is perfectly feasible. Thorough preparation, recording of clear sound for audio, thorough explanations and simple editing are the features that really can make a change.
Australian shed owners and DIY hobbyists could, for example, use filming as an excellent means to show their projects to others, share their expertise and even teach people on how to address similar issues. By keeping production techniques at an acceptable level and sharing really useful information, you can easily turn even the most straightforward work session video into an invaluable source of information for the wider DIY community.