Smart Ways to Tackle High Reach Shed Construction
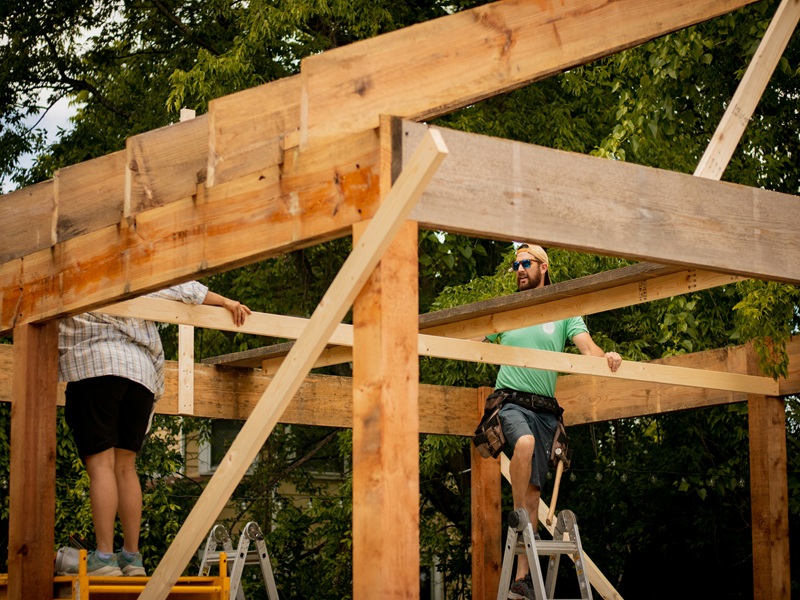
High-reach shed construction needs a clear access plan before the first frame goes upright. Roof pitch, wall height and site conditions all affect how safely you can install trusses, ridge components and roof sheeting. Improvised access often creates delays and exposes workers to avoidable falls, especially when tools or materials must be carried overhead.
Plan the build sequence, access equipment and weather limits together so each stage can proceed without rushed changes.
Planning Trusses and Ridge Height Safety
Start with the shed drawings and confirm the finished wall, ridge and eave heights. These measurements show where workers will need stable access during frame bracing, truss installation and roof fixing. Allow for the height of the working surface too, as standing too low encourages overreaching while standing too high may reduce safe edge protection.
Plan how each truss will be lifted, positioned and temporarily braced before work begins. Mark exclusion areas below overhead activity and keep people outside them. Never depend on an incomplete frame for support. Temporary braces must follow the shed supplier’s instructions and remain in place until the permanent bracing is secured.
Choosing Between Ladders and Working Platforms
Use a ladder for brief, light tasks where you can keep three points of contact. The available ladder types and uses vary considerably, so match the design and duty rating to the job instead of using whichever ladder happens to be nearby. Review basic ladder safety rules before setup, including placement on firm ground and maintaining safe contact.
Longer jobs usually call for a working platform. If you’ll be aligning trusses, handling tools or fastening multiple sheets, scaffold hire can provide a more practical access option for a short-term build. Choose equipment that suits the required working height and site footprint, then have it installed and inspected by a competent person.
Sourcing Reliable Access on Site
Book access equipment early enough to confirm dimensions, delivery arrangements and ground requirements. Measure gates, side passages and the space around the shed slab, including any area needed for outriggers or platform bays. A unit that reaches the ridge may still be unsuitable if it can’t be positioned safely beside the structure.
Check the equipment when it arrives. Look for missing components, damaged decks, bent frames and unreadable load information. Confirm that guardrails, gates and toe boards are fitted where required. Keep the manufacturer’s instructions available on site and prevent unauthorised alterations. If ground conditions change after heavy rain, stop and reassess the setup before anyone returns to the platform.
Handling Heavy Sheeting in Windy Weather
Roof sheeting can act like a sail, even during a moderate gust. Check the forecast before lifting sheets and set a conservative site limit based on the sheet size, lifting method and manufacturer’s guidance. Stop work if wind becomes unpredictable. Delaying the roof is safer and usually cheaper than recovering dropped material or repairing a twisted frame.
Store sheets flat, restrained and clear of vehicle routes. Use enough people or suitable lifting equipment to control each panel without dragging it across sharp edges. Establish clear commands so one person directs the lift. Once a sheet reaches roof level, secure it promptly according to the installation plan and never leave loose panels resting on the frame.
Essential Pre-Build Checks for Clear Space
Walk the full work area before delivery day. Remove loose timber, packaging, hoses and offcuts from access routes, then identify overhead cables, underground services and soft ground. Delivery vehicles need a firm approach and enough turning room to unload long frame members without passing over the slab or prepared footings.
Set aside separate zones for frames, roof sheets, tools and waste. Leave a clear path between storage and the access equipment so workers don’t have to carry bulky materials around obstacles. Check that children, pets and visitors can’t enter the construction area.
Finish by marking the equipment footprint and exclusion zones on the ground before materials arrive. Those simple markings make it much easier to preserve safe access once the site starts filling with frames, fixings and sheeting.