How to Turn a Backyard Shed into a Livable Studio
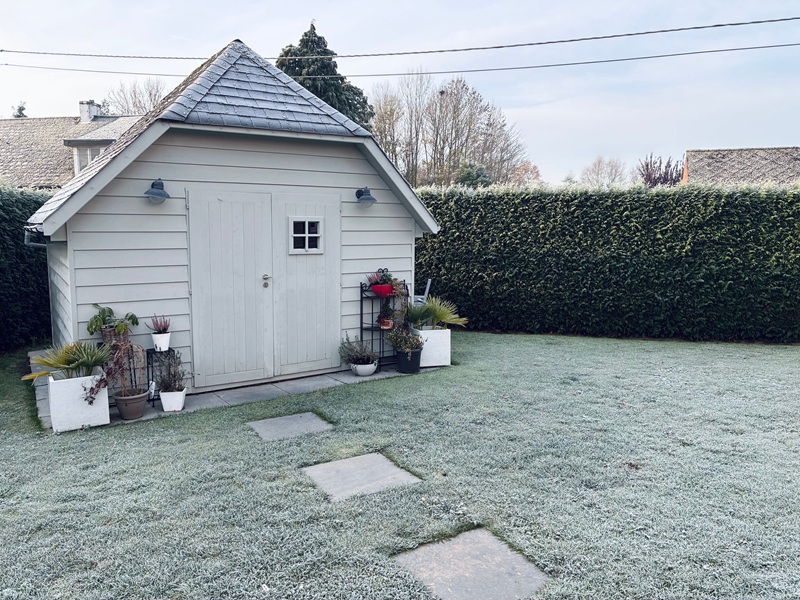
If you’re planning to turn your backyard shed into a comfortable studio, the conversion needs more than furniture and a fresh coat of paint. The structure must safely manage weather, temperature, moisture, and everyday services.
Before drawing a floor plan, check local planning and building requirements. Approval may depend on the shed’s size, location and intended use, particularly if it will include plumbing or sleeping facilities. This guide provides a useful overview of the broader process, while a building professional can assess your property’s requirements.
Assess Framing and Insulation Needs
Start by emptying the shed and inspecting its frame, floor and roof in daylight. Look for corrosion, timber decay, water stains, movement around joints, and gaps where pests or rain could enter. A builder should examine any sagging roof members or uneven floors before interior linings conceal them.
Insulation needs to suit both the structure and local climate. Roof and wall insulation help control heat transfer, while a suitable membrane can reduce condensation inside enclosed cavities. Don’t overlook the floor, particularly if the shed sits above bare ground or on a concrete slab that becomes cold in winter. Allow enough wall depth for insulation, wiring and internal lining without crowding the small room.
Maximise Natural Light and Airflow
Window placement strongly affects how spacious the finished studio feels. Openings on different walls can encourage cross-ventilation, while a higher window may release warm air that gathers near the ceiling. Keep glare in mind if the studio will contain a computer desk or television.
For projects in Sydney, the Central Coast and Newcastle, custom timber casement windows can provide an attractive option when you need openings made to suit an existing structure. Because they open outwards, they also preserve valuable room inside a compact shed.
Position larger areas of glass away from harsh afternoon sun where possible. External shading, eaves or a deciduous plant can help manage summer heat without making the interior gloomy.
Plan Power and Data Points
Map the furniture before deciding where sockets, switches and data points should go. A desk might need power for a computer, monitor and task light, while a sofa bed may need a nearby charging point. Mark these locations on the floor with tape to test the arrangement at full scale.
Ask a licensed electrician to assess the supply, circuit capacity, lighting and safety requirements. Extension leads shouldn’t become a permanent wiring plan. If reliable internet matters, compare a hard-wired data connection with the actual Wi-Fi signal at the shed.
The tiny-home conversion guide can help you identify services and fixtures before work begins. Include a few spare outlets, since adding them after the walls are finished creates avoidable cost and disruption.
Finish Interior Walls for Comfort
Choose interior linings only after you’ve resolved insulation, electrical work, and moisture control. Plasterboard creates a familiar residential finish, though plywood can be practical in a workshop-style studio because shelves and hooks are easier to fix. Some projects combine plasterboard on the main walls with a plywood panel above the desk.
Seal gaps around windows, doors and service penetrations to limit draughts. Pale wall colours can spread daylight through the room, while washable low-sheen paint handles marks better in a compact, heavily used space.
Flooring also changes comfort noticeably. Carpet tiles add warmth and are easy to replace individually. Vinyl planks suit spaces exposed to muddy shoes, while an insulated floating floor can improve a cold concrete base if ceiling height permits.
A successful studio should feel comfortable on an ordinary hot afternoon and a chilly winter morning, not only on the day it’s photographed. Test ventilation, lighting, internet coverage, and room layout before installing built-in cabinetry. That final check gives you a chance to move a socket, alter a desk position, or improve shading while changes are still straightforward.