How to Safely Prepare an Old Backyard Shed for Demolition
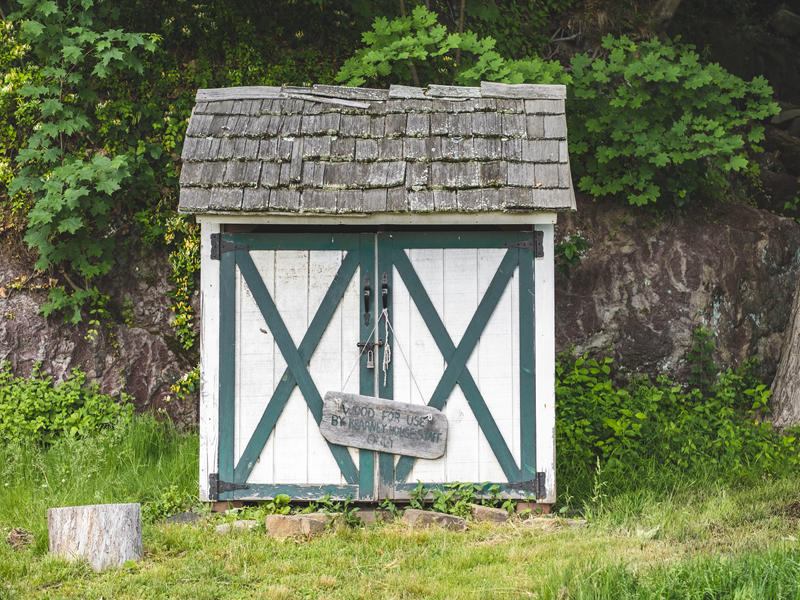
An old backyard shed can hide far more than rusted tools and forgotten garden supplies. Weak framing, damaged roofing and legacy building materials may turn a simple weekend demolition into a serious safety problem. Before pulling off panels or knocking down walls, inspect the structure, identify possible hazards and plan where every part will go.
A careful check also helps you decide which tasks are suitable for DIY work and which require licensed specialists. That decision should happen before the shed is disturbed, since breaking old sheets or coatings may release fibres, dust or contaminated debris.
Assessing Structural Stability
Start your inspection from several metres away. Look for a leaning frame, sagging roofline, missing supports and branches resting on the structure. A shed that has shifted on its slab or footings may collapse without much warning once you remove the first brace. Keep children and pets out of the area and avoid entering if the roof or walls appear unstable.
Check the ground around the shed for signs of drainage problems. Soft soil, pooled water and exposed footings can indicate that part of the base has dropped. Inside, if entry is safe, inspect timber for rot and insect damage. Pay particular attention to the bottom plates, door frame and points where rafters meet the walls. On metal sheds, look for corrosion around fasteners and along the lower edges of wall panels.
Before dismantling anything, identify the parts supporting the roof and mark them with chalk or removable tape. A shed demolition guide can help you understand the general sequence, but the condition of your structure should determine how the work proceeds.
Disconnect electricity and any other services through qualified trades before demolition starts. Don’t assume an old cable is inactive because the shed has no working lights. Underground lines may also run beside or beneath the slab, so check plans and arrange service locating where needed.
Spotting Problematic Legacy Materials
The age of a shed can offer useful clues about its materials. Older structures may contain fibre-cement wall sheets, corrugated roofing, insulation products, old electrical components or layers of deteriorating paint. Visual inspection alone often can’t confirm exactly what a suspect product contains.
Treat unfamiliar sheet material cautiously, especially if it is weathered, cracked or fixed with old nails. Avoid drilling, sanding, snapping or pressure-cleaning it. These actions can spread fine particles over garden beds, paving and neighbouring properties. Keep the surface undisturbed until it has been professionally assessed.
Formal pre-demolition inspections are designed to identify materials that need special handling before structural work begins. For a backyard shed, a targeted inspection and sample test may be enough, depending on its age, construction and condition. Sampling should be performed under controlled conditions, not by chipping off a piece and placing it in a household container. For more guidance on assessing older shed materials and planning safe demolition, read these safety tips for demolishing old fibro cement sheds.
Also inspect the shed’s contents. Unlabelled garden chemicals, leaking fuel containers, old batteries and fluorescent tubes need separate disposal arrangements. Never tip unknown liquids onto the soil or place them in a mixed demolition skip. Photograph labels and contact your council or local waste facility for disposal instructions.
When to Bring in a Specialist
Bring in a specialist when testing confirms asbestos or when you encounter an unidentified material that can’t be removed safely through normal building methods. Professional removal may also be appropriate when suspect sheets are badly broken, spread across several surfaces or positioned above adjoining fences and garden areas. For projects involving asbestos or other hazardous materials, Hazardous Removal Company can assess the risks and explain the appropriate removal process, containment measures and disposal requirements.
Ask the contractor to explain the work area, containment measures and disposal process in plain language. The quote should identify which materials will be removed, whether air monitoring is required and who will transport the waste. It should also state if the remaining shed structure is included or if a separate demolition contractor must finish the job.
Before accepting a quote, check:
- The contractor’s licence and insurance details
- The precise boundaries of the removal area
- Site preparation requirements and expected duration
- Waste transport and lawful disposal arrangements
- Air monitoring or clearance inspection requirements
- The documents supplied after completion
Be cautious if someone offers to remove suspect material without testing, site controls or paperwork. A low initial price can lead to extra clean-up costs if debris contaminates soil, stored belongings or access paths.
Keep the removal zone clear before the crew arrives. Move outdoor furniture, pot plants and loose toys away without disturbing the shed itself. Close nearby windows and let neighbours know when access or noise may affect them. Guidance on demolition and clean-up also highlights the value of planning waste handling before any panels come down.
Once specialist work is complete, retain testing reports, disposal records and any clearance certificate with your property documents. These records show what was found, what was removed and which areas were assessed.
Planning Final Site Clearance
Plan the cleared area before demolition day. Decide if the slab will stay, whether a replacement shed will use the same footprint and how machinery or waste bins can reach the site. A narrow side passage, low branches or fragile paving may change the equipment that can be used and the order of the work.
Sort reusable materials only after hazardous products have been identified and dealt with. Sound timber, shelving, doors and metal fittings may be suitable for salvage if they are clean and structurally useful. A practical shed deconstruction process shows how orderly dismantling can preserve usable pieces and reduce the amount sent for disposal.
Separate remaining waste into the categories accepted by your chosen facility. Timber, masonry, scrap metal and general debris may need different loads. Check skip-bin restrictions in advance because many providers prohibit chemicals, batteries, contaminated soil and regulated building materials. Overfilled bins may also be refused or attract added charges.
After the structure is gone, inspect the ground for nails, screws, glass and buried footings. A magnetic sweeper works well over lawns, gravel and paving, but it won’t pick up aluminium fragments or glass. Rake the area carefully and check it again after rain, which can expose objects hidden in loose soil.
If you’re removing the slab, confirm that no services run beneath it before cutting or lifting concrete. Fill excavations promptly and compact new soil in layers to reduce later sinking. Where the old shed caused damp or bare patches, improve drainage and allow the site to dry before installing another structure.
Finish with one slow inspection from the fence line to the access gate. That final walk often finds the sharp offcut or loose fastener missed during the main clean-up, leaving the backyard ready for its next use.