Clearing Out Your Shed: A Weekend Project Guide
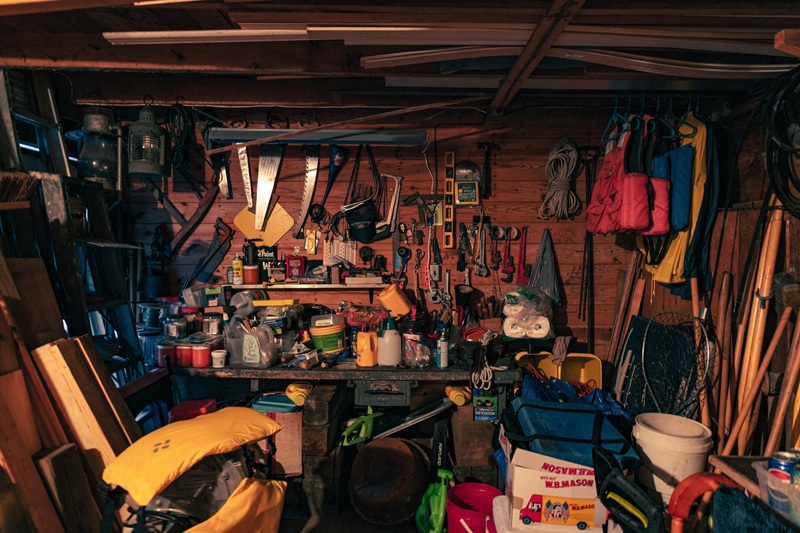
If your shed has become a black hole for everything from half-empty paint tins to long-forgotten sporting equipment, you’re not alone. What starts as a useful storage space can quickly turn into a chaotic dumping ground. Reclaiming that valuable real estate isn’t just about tidying up; it’s about creating a functional and enjoyable space. This guide will walk you through turning your cluttered shed into an organised haven over a single weekend.
Why Your Shed Needs a Clean Out
Beyond the simple frustration of not being able to find the secateurs, a cluttered shed causes several problems. Tools and equipment can get damaged by moisture and rust when left on the floor, and tangled cords are a genuine safety hazard. Piles of junk also create perfect hiding spots for pests like spiders and rodents. Cleaning out your shed isn’t just about making it look better. It protects your belongings, makes the space safer, and gives you back a usable workspace for hobbies, repairs, or gardening prep. The sense of accomplishment after transforming a chaotic space into an orderly one is a huge mental boost.
Planning Your Declutter Strategy
Success lies in the preparation. Don’t just wander out to the shed on a Saturday morning and hope for the best. Carve out a full weekend for the project and check the weather forecast. You’ll want a clear couple of days since most of your shed’s contents will be temporarily living on the lawn. Before you start, gather your supplies: sturdy gloves, cleaning rags, and strong rubbish bags. For a major clear-out, you’ll generate more waste than your wheelie bin can handle. Arranging for a skip bin hire ahead of time is a brilliant move. It means you can toss broken items and general rubbish without a second thought, avoiding multiple trips to the tip. A good step-by-step guide can also help you visualise the process from start to finish.
Sorting Your Items
The most effective way to tackle the chaos is to pull everything out. Yes, everything. This gives you a clean slate and forces you to make a decision about every single item. Create four distinct zones or use large boxes labelled:
- Keep: Items you use regularly and are in good working order. This includes your essential tools, gardening supplies, and project materials.
- Donate/Sell: Things that are still useful but you no longer need. This could be duplicate tools, old camping gear, or a lawnmower you’ve since replaced.
- Bin: Anything that is broken beyond repair, expired, or simply rubbish. Be ruthless. That collection of cracked plastic pots isn’t going to fix itself.
- Relocate: Items that don’t belong in the shed. Think household decorations, kids’ indoor toys, or documents that should be stored inside the house.
Dealing with Unwanted Stuff
Once you’ve sorted everything, it’s time to act. Bag up the items for donation and put them straight into your car to drop off at your local charity shop first thing Monday. For items you want to sell, take photos and list them on a marketplace platform right away. For the rubbish pile, separate items into general waste and materials that can be recycled. Be mindful of hazardous waste like old paints, chemicals, and batteries, which require special disposal and should never go in a skip or your regular bin. Your local council website will have information on the correct disposal methods for these materials. This part of the process is often the most satisfying as you physically declutter your outdoor storage shed and see space appear.
Organising for the Long Term
Now for the fun part: putting it all back in an organised way. Before returning your “Keep” items, give the shed a thorough sweep and wipe down any existing shelves. The key to long-term organisation is to make things visible and accessible.
- Go Vertical: Use the wall space. Install sturdy shelving units for heavier items and pegboards for hanging tools. This gets things off the floor and into plain sight.
- Use Clear Bins: Store smaller items like screws, nails, and gardening gloves in clear, labelled containers. You’ll be able to see what’s inside without having to rummage through a dozen boxes.
- Create Zones: Group similar items together. Designate one area for gardening supplies, another for power tools, and a third for car care products. This logic makes finding and returning items second nature.
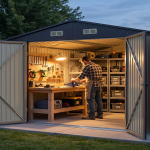
With your shed finally clear and organised, you can get back to enjoying it. Whether it’s your workshop, garden hub, or simply a well-ordered storage space, you’ve earned the right to stand back and admire your work.