From a Microsoft Paint Sketch to a Shed Concept with ChatGPT
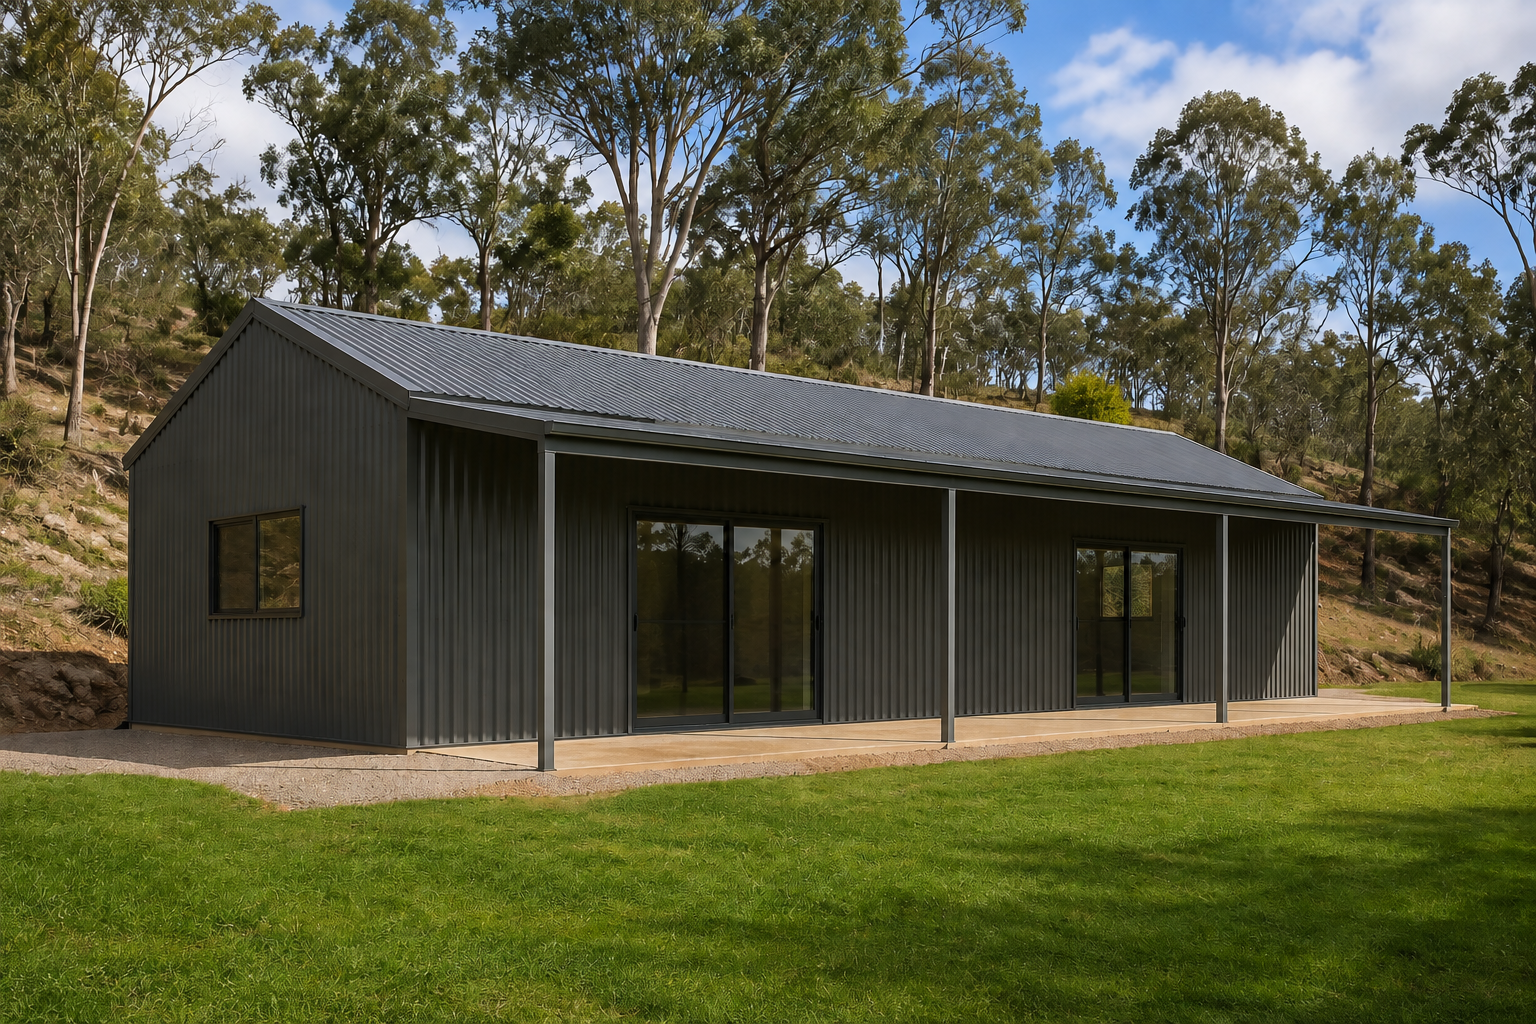
A practical, non-technical tutorial for Australian shed buyers
Start with an idea—not a perfect drawing
You do not need specialist drafting software to begin exploring a shed design. In this example, a very simple sketch made in Microsoft Paint served as the starting point for a dimensioned concept plan, four external elevations, and a photorealistic visualisation. The sketch was rough, but it communicated the essential idea: the shed’s overall size, wall height, awning depth, window and sliding-door locations, and preferred cladding.
That makes ChatGPT useful early in the buying journey. It can help turn loose ideas into something clearer to discuss with a shed supplier, designer or builder. The key is to treat the result as a conversation starter, not as approved construction documentation.
Step 1: Draw and label the basic shed
Begin with the shape you have in mind. It can be drawn with a mouse using lines, rectangles and text. Accuracy is helpful, but neatness is not essential. What matters is labelling the information that will affect the design.
- Overall length and width—in this case, 12 metres by 6 metres.
- Wall or eave height—2.8 metres in this example.
- Awning depth and location—a 3-metre awning along one 12-metre side.
- Doors and windows—two sliding glass doors and one end-wall window.
- Preferred materials or colours—COLORBOND® corrugated steel in Woodland Grey.
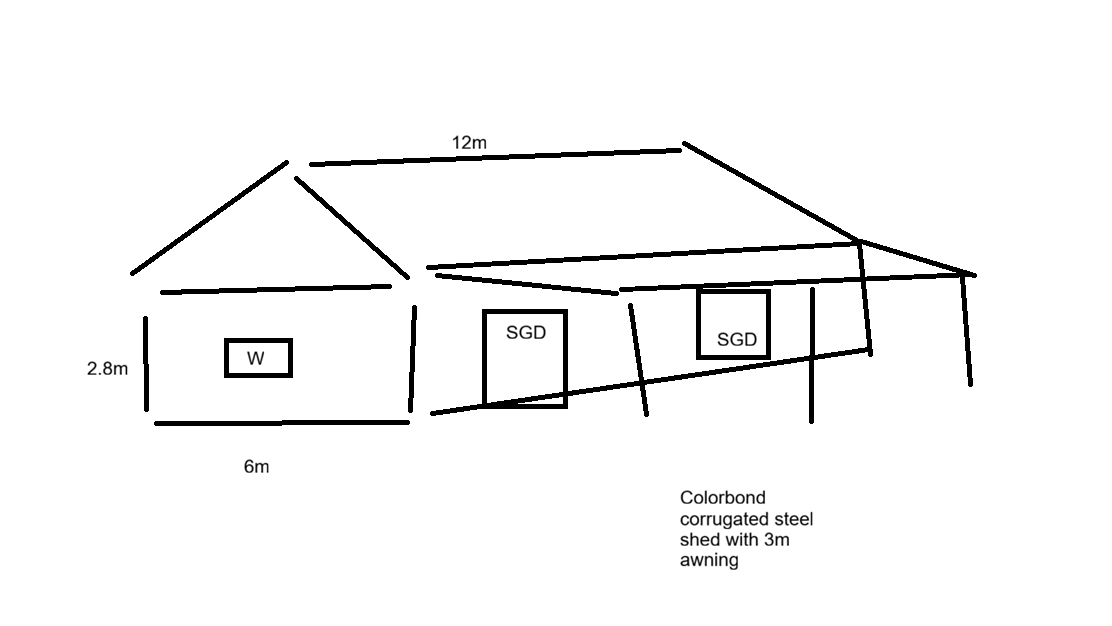
The original Microsoft Paint sketch. Simple lines and labels were enough to communicate the main design intent.
If a measurement is unknown, say so. Asking ChatGPT to mark uncertain items as indicative is better than allowing an assumption to look like a confirmed fact.
Step 2: Upload the sketch and request a concept plan
Prompt: Please review my sketch and produce a clean, dimensioned concept plan. Treat any unstated door and window sizes or positions as indicative, and label the drawing ‘Concept only—not for construction’. Before drawing, list the dimensions and assumptions you have read from the sketch.
ChatGPT interpreted the drawing as a 12 m × 6 m enclosed shed with a 2.8 m wall height, a full-length 3 m awning, two sliding glass doors on the awning side and one window in the 6 m end wall. Importantly, it also identified what the sketch did not specify, including exact opening offsets, roof pitch and structural member sizes.
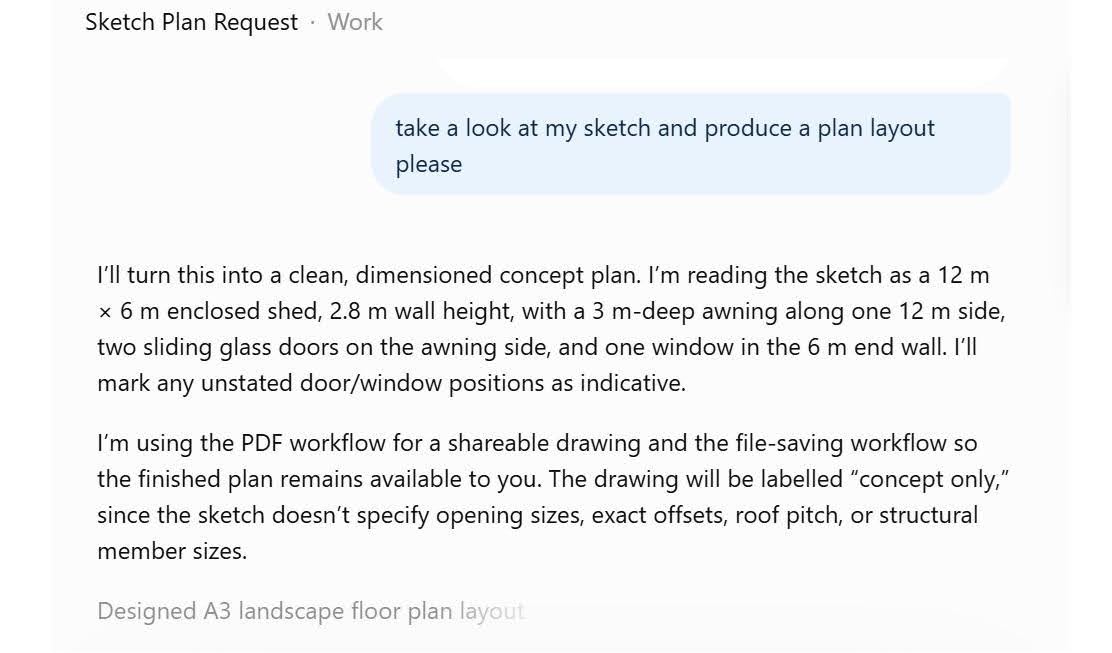
ChatGPT restated the sketch and its assumptions before preparing the drawing.
Step 3: Check every assumption
The first output should be reviewed as carefully as a quote. Check the overall footprint, the orientation of the awning, the number of doors and windows, and whether openings are on the correct walls. In this example, the concept used assumed 1,800 mm sliding glass doors, a centred 1,200 mm window and awning posts at nominal 4 m intervals. Those details were clearly presented as items to confirm.
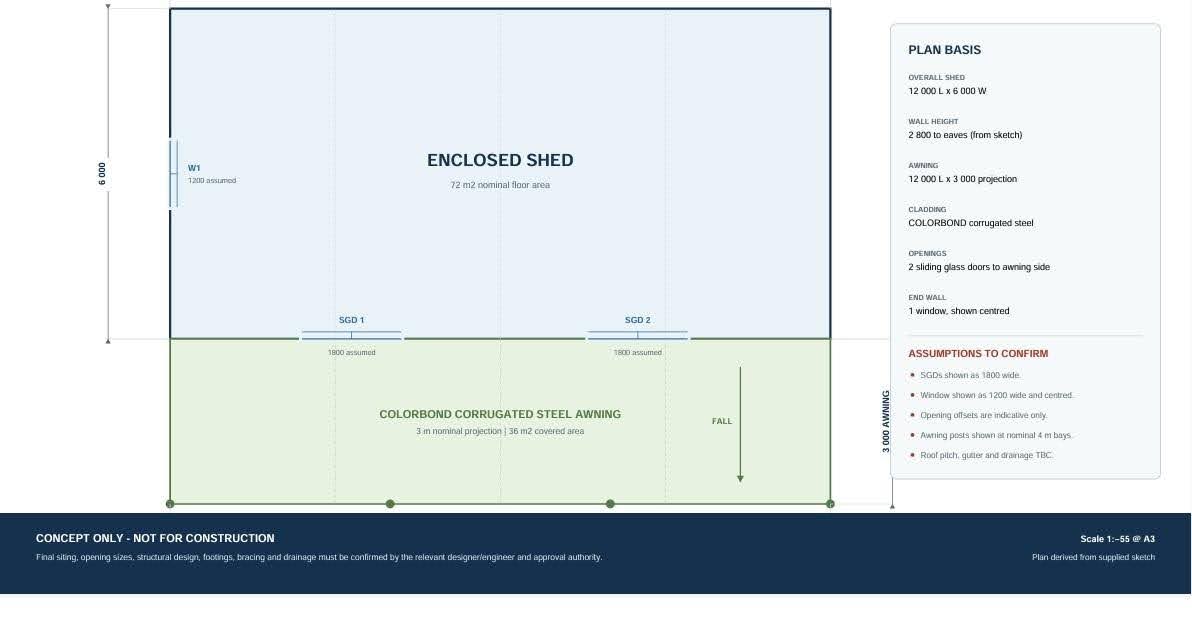
The concept plan translated the rough sketch into a clearer layout and separated confirmed information from assumptions.
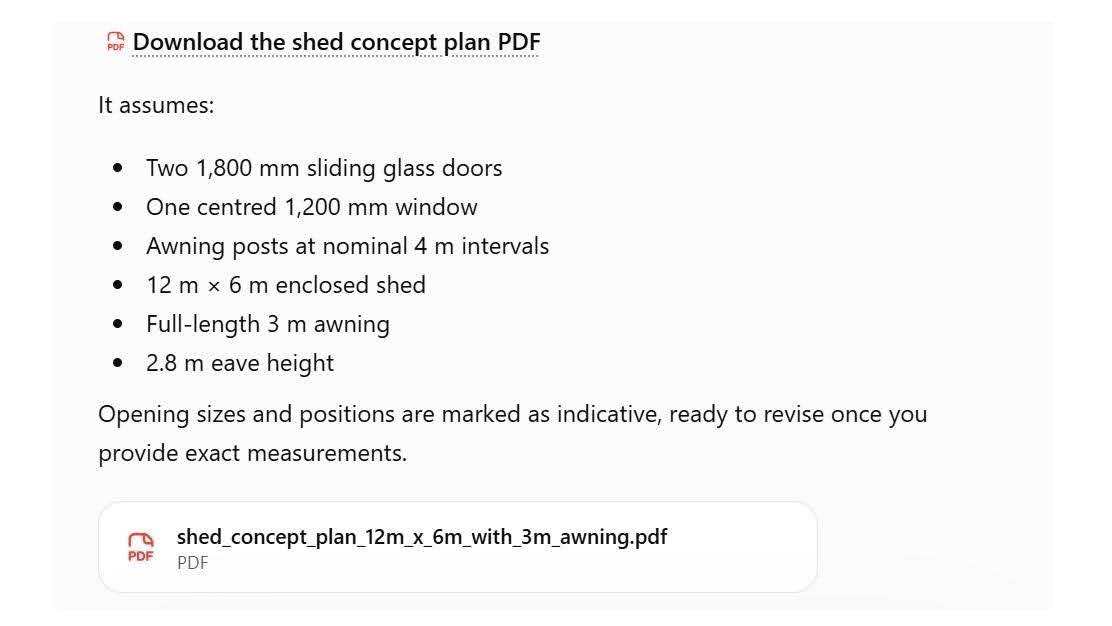
The downloadable concept-plan summary made the assumed opening sizes and other design inputs easy to review.
Step 4: Ask for all four elevations
A floor plan explains where things sit, but elevations show what each outside wall will look like. Ask for the awning side, rear wall, window gable end and opposite gable end. This is especially useful when comparing door positions, roof form, cladding direction and the relationship between the shed and its awning.
Prompt: Please update the drawing set to include a dimensioned floor plan and all four external elevations: awning side, rear, window gable end and opposite gable end. Keep roof pitch, ridge height and awning outer-eave height marked as indicative until confirmed.
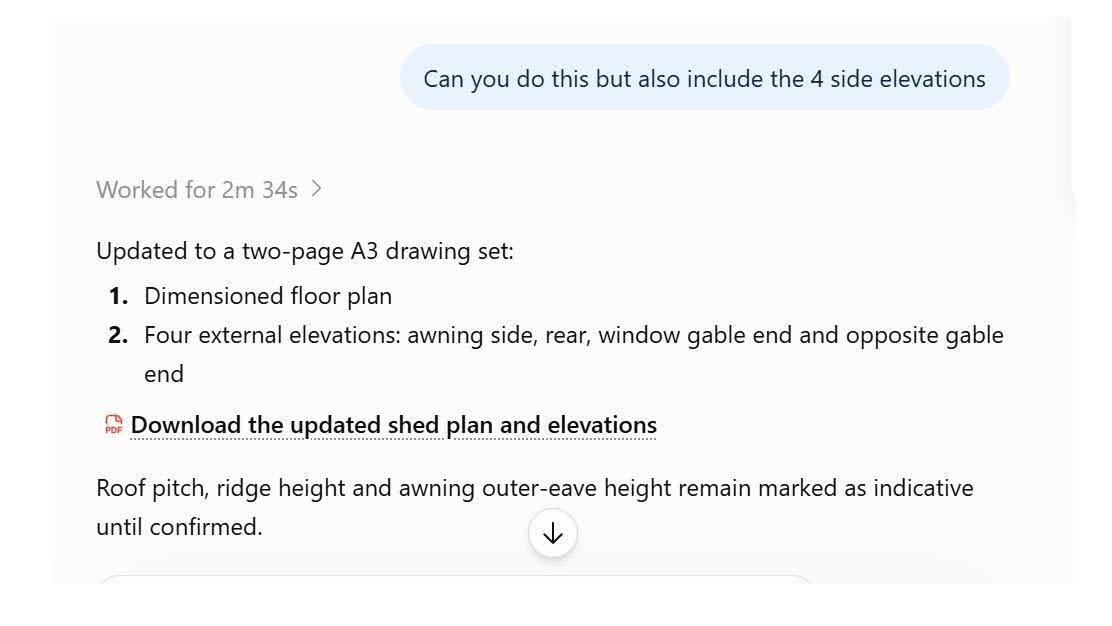
The follow-up request expanded the concept into a two-page drawing set with four external elevations.
Step 5: Create a realistic site visualisation
Once the basic arrangement looks right, the plan and elevations can become references for an architectural render. Describe the site as well as the building. Landscape, ground level, vegetation, light and shadows all affect whether the image feels believable.
Prompt: Using these drawings as the basis for design and scale, create a photorealistic 3D architectural render of the shed on a flat, cleared section of a partially wooded Australian slope. Use gum trees, a lush lawn in front, scattered clouds and natural shadows. Show Woodland Grey COLORBOND® corrugated-steel wall and roof cladding, the full-length 3 m awning, two sliding glass doors and the end-wall window.
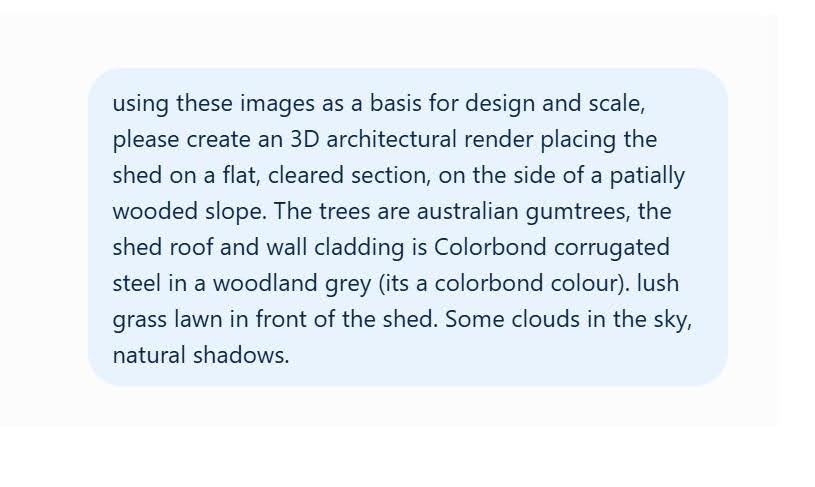
The visualisation prompt combined building details with clear instructions about the Australian site and atmosphere.
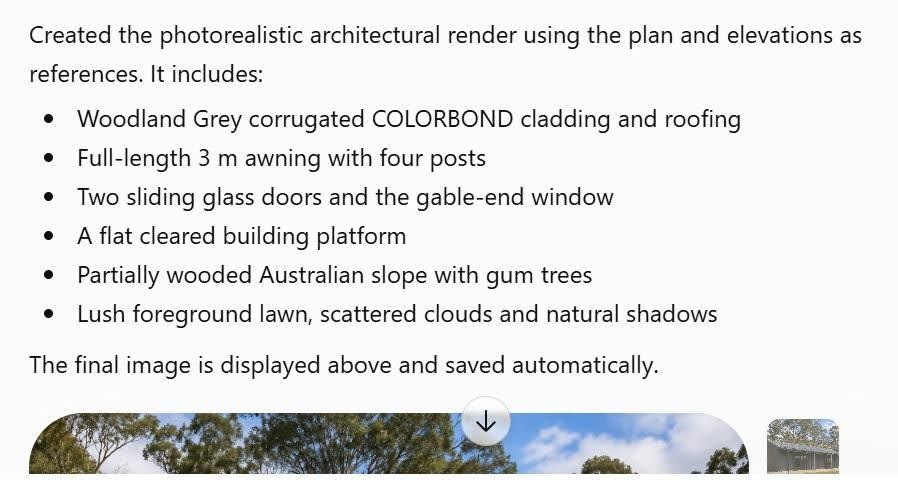
ChatGPT’s summary confirmed the main elements carried into the render.
Step 6: Use the result to improve your shed brief
The finished render makes the idea easier to understand than the original sketch, but its greatest value is the discussion it creates. You may notice that a door should move, the awning needs to be deeper, a window faces the wrong direction or the shed colour does not suit the site. Make one change at a time, ask for an updated plan and elevations, and then regenerate the visualisation from the revised drawings.
Before requesting a formal quotation, prepare a short confirmed brief covering the site address, intended use, dimensions, access, slab or footing preference, doors, windows, insulation, ventilation, electrical needs, rainwater handling and desired colours. Your shed supplier can then advise which choices are practical and what further site information is required.
What ChatGPT can—and cannot—do
This workflow is excellent for exploring options, explaining your preferences and arriving at a more useful first conversation with a shed company. It may also help family members or project stakeholders visualise the same idea before money is committed.
However, an AI-generated concept is not a substitute for professional design, engineering or local approval. It does not verify wind region, terrain category, bushfire requirements, snow or earthquake loads, soil conditions, drainage, boundary setbacks, easements, planning controls, footing design, structural connections or manufacturer specifications. Requirements vary by Australian state, council, property and intended building use.
A reusable prompt for your own shed
Prompt: I am uploading a simple shed sketch. First, list every dimension and feature you can read, then list anything unclear or missing. Produce a concept-only plan using the confirmed dimensions and mark all assumptions as indicative. Include a floor plan and four external elevations. Do not present the result as construction-ready. After I confirm the layout, create a realistic exterior visualisation using the drawings as references and the site, materials, colours and landscaping I describe.
The takeaway
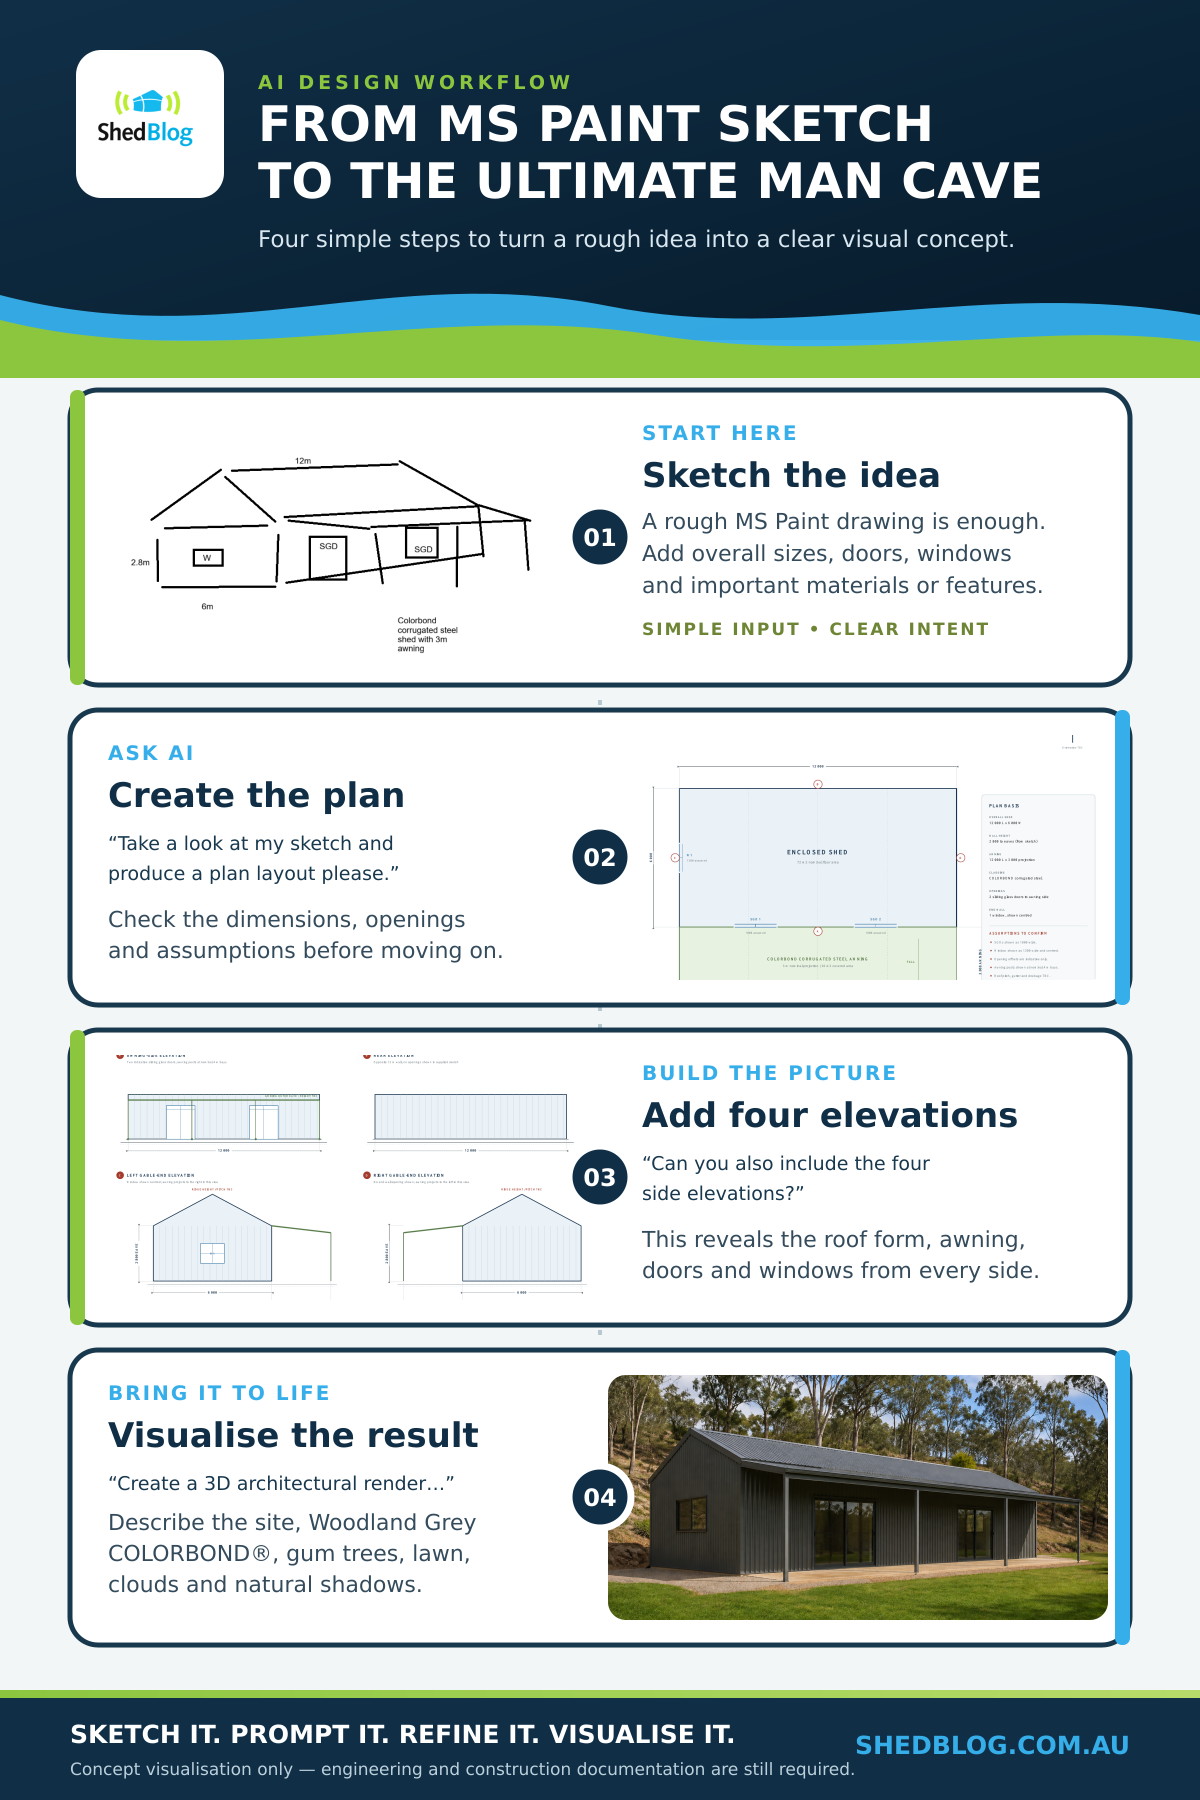
A rough Microsoft Paint drawing can be enough to start shaping a shed project. By prompting in stages—interpret, confirm, draw, add elevations and visualise—you keep the process understandable and reduce the chance that an assumption goes unnoticed. The result is not a building plan, but it can become a clear and valuable design brief to take to an experienced Australian shed supplier. Click the below infographic to take a copy with you.
Important: All drawings and images shown are conceptual only and are not suitable for construction, engineering certification, pricing, planning approval or building approval. Final design must be checked by the relevant qualified professionals, supplier and approval authority.