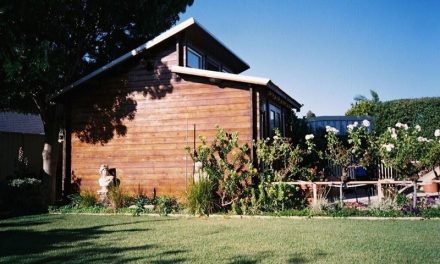
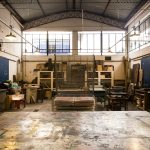
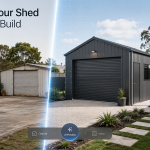
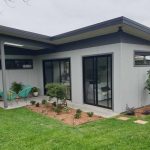
Shed Upgrades That Turn Storage Into Living Space

Your backyard shed doesn’t have to stay a cluttered box. With the right upgrades, you can turn it into a space you actually enjoy using. You might picture a home office, a hobby studio, or even a quiet retreat. The shift starts when you stop seeing it as storage and start seeing potential.
So how do you make that leap without overcomplicating things? You focus on practical upgrades that add comfort, function, and style. Each step builds on the last. Before long, your shed won’t feel like an afterthought. It’ll feel like an extension of your home.
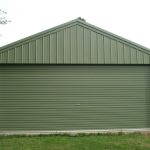
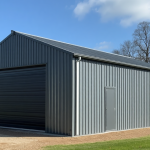
Start With Structure and Weatherproofing
Before you think about décor or furniture, you need a solid base. Your shed must handle daily use, not just occasional storage. Begin by checking the framing, flooring, and roof. Weak areas need reinforcement, while worn parts call for replacement.
Sealing the space properly matters just as much. Draughts, leaks, or moisture creeping in will undermine comfort and durability. Insulation in walls and ceilings helps stabilise indoor temperatures, while weather seals on doors and windows keep conditions under control. These small fixes turn a basic shell into a space you can rely on all year round.
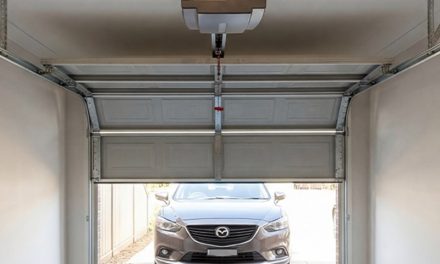
Install Reliable Power and Connectivity
If you plan to use your shed often, you’ll need reliable power. Running extension cords from your house won’t cut it long term. Instead, install proper wiring that meets safety standards so you can power devices, charge equipment, and run appliances with ease.
Don’t stop at electricity. Add a strong Wi-Fi signal or even a wired connection. This matters if you’re setting up a home office or entertainment space. Once your shed is connected, it stops feeling separate and becomes part of your daily routine.
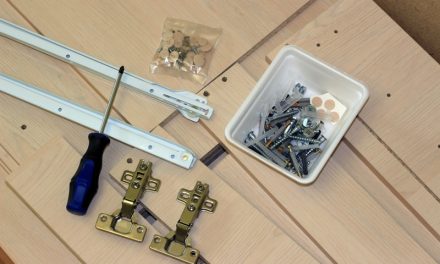
Add Plumbing
Plumbing makes a shed far more practical if you plan to use it as a studio, guest room, or workspace. Even a simple sink adds convenience, saving you from constant trips back to the house whenever water is needed.
The key is connecting water safely and managing drainage in a way that suits your layout and budget. You might link to existing lines or set up a basic standalone system. Local services such as Fremantle Plumbing can help tackle this challenge, making the space feel genuinely independent.
Upgrade Lighting
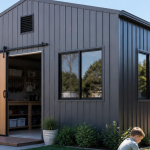
Lighting changes how a space feels. A dark shed feels cramped, while a well-lit one feels open and usable. Start with natural light. If possible, install larger windows or even a skylight. This reduces your need for artificial lighting during the day.
Then layer your lighting. Use ceiling fixtures for general brightness, add task lighting for desks or workbenches, and include softer lights for a relaxed vibe. You’ll notice the shift straight away. The space becomes more inviting, and you’ll want to spend time there.
Focus on Climate Control
Comfort is key. Without it, even the best design won’t work. Once the structure is sealed and insulated, the next step is managing airflow and temperature.
Add ventilation to keep air moving, whether through simple vents or small fans. For year?round usability, consider compact climate control options such as a portable heater or air conditioner. These upgrades ensure the shed stays comfortable in every season, so you’ll want to use it regularly rather than only when conditions are ideal.
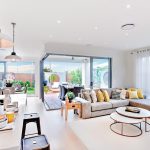
Choose Flooring That Fits
Concrete or bare timber floors won’t give you that “living space” feel. Upgrading your flooring changes everything. It adds warmth and defines the purpose of the room. Think about how you’ll use the space, then choose accordingly.

Laminate offers a clean, modern look, while vinyl works well if you need durability and easy maintenance. Consider adding a carpet if you want a cosy retreat. Whatever you pick, make sure it suits your lifestyle. The right flooring anchors the design and ties the whole space together.
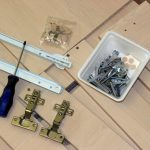
Add Smart Storage
Ironically, your new living space still needs storage. The difference is how you handle it. You want function without mess. Built-in shelves, wall-mounted units, and hidden compartments work best, keeping things organised without taking over the room.
Be selective with what stays, as you’re no longer storing everything. You’re curating the space, so keep only what supports its new purpose. This shift helps the shed feel intentional. It stops being a dumping ground and becomes a designed space.
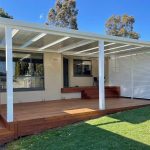
Create Zones for Specific Uses
A shed can serve more than one purpose if you plan it well. Divide the space into zones. For example, you might have a work corner, a relaxation area, and a small utility nook. Each zone should have a clear function.
Use furniture and layout to define these areas. Rugs, shelving, or even lighting can separate spaces visually. This approach keeps the room organised and makes it more flexible. You can adapt it as your needs change without starting from scratch.
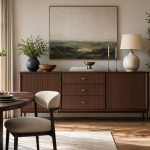
Personalise With Finishing Touches
Now comes the fun part. Once the basics are in place, you can add personality. Choose colours that match your taste, then add artwork, plants, or décor pieces that make the space feel yours. These details bring life into the room.
Keep balance in mind. You don’t want to overcrowd the space. Stick to a cohesive theme and build around it. When done right, your shed won’t just look good. It’ll feel right, and you’ll notice the difference every time you step inside.
Final Thoughts
Turning your shed into a living space doesn’t require a full rebuild. It comes down to smart upgrades that improve comfort and usability. Each change adds to the overall effect, gradually shaping the space into something more valuable.
Start with the basics and build steadily. Strengthen the structure, then layer in comfort and style. With a thoughtful approach, your shed can transform into one of the most versatile spaces on your property.


