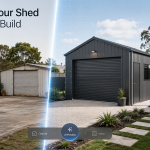
Give Your Shed a Second Chance with This Step-By-Step Renovation Guide

Having a backyard shed is an amazing addition to your home. These structures house things like gardening tools, lawnmowers, and all sorts of miscellaneous items. But your shed gets worn down over time, with weather and possible lack of maintenance often leaving it worse for wear. If you have a shed that looks a bit run down, don’t immediately think you have to completely tear it down and start over. Chances are, a shed renovation could bring it back to its former glory. With a properly planned and executed renovation, you can breathe new life into your backyard storage, transforming it into a functional storage space once again.
Assessing the Wear
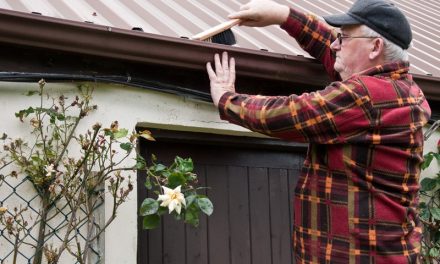
A successful shed renovation starts with a comprehensive assessment. Thoroughly examine the current state of your shed. Start with the foundation, checking for cracks and sinking. Next, move to the walls, looking for signs of rot and damage. Lastly, inspect the roof for leaks and missing shingles, and assess the doors and windows for functionality and any signs of decay. Writing out a detailed list of all necessary repairs, whether minor or major, will set you up for success. At this stage, it is also helpful to plan how you will manage construction debris once work begins. Many homeowners schedule a dumpster rental San Diego ahead of demolition so materials like damaged wood, roofing, and old fixtures can be removed quickly once the renovation starts.
Removing the Unsalvageable
With your repair list in hand, the next crucial step is demolition and removal. This could involve removing a leaky roof, tearing off old siding, ripping up worn down flooring. As you dismantle the shed, you’ll have debris to get out of the way. Handling the waste quickly is key to keeping your project moving, and a home dumpster rental is a great solution for disposing of old materials like shingles, wood, and broken fixtures. A dumpster on-site saves significant time and effort, keeping your workspace clean and safe for rebuilding.
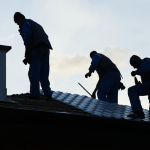
Strengthening and Repairing
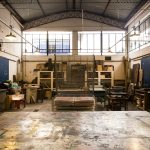
With the demolition complete, you can begin rebuilding and reinforcing. Start by tackling any underlying structural issues, repairing or replacing compromised framing. If the foundation shows signs of damage, consult a professional for advice on repairing or stabilizing. Ensure the integrity of the walls and install insulation for added functionality if you want the shed to be useful beyond general storage.
Improve both appearance and durability by replacing old siding with new, weather-resistant materials. Pay close attention to the roof, repairing leaks, replacing damaged shingles, or considering a full replacement for a seriously deteriorated roof. Finally, address the doors and windows by repairing or replacing frames, ensuring smooth opening and closing, and possibly updating hardware for a refreshed look.
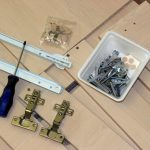
Organization and Customization
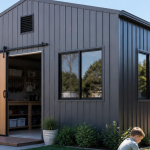
Finally, enhance your renovated shed’s potential by tailoring it to your specific needs. Carefully consider its intended purpose. It may be a workshop full of workbenches and equipment, a space for tool organization with dedicated shelving, or a spacious storage unit for larger items. Design the interior with a layout that optimizes space and install appropriate storage. Further increase its utility with improved lighting for better visibility, and if power tools or nighttime use are planned, consider having electricity installed by a qualified professional. You can also protect your investment while improving the aesthetic with a fresh coat of paint or stain on the exterior.
Conclusion
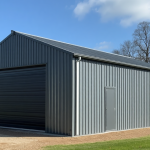
Through thoughtful planning and a touch of effort, your worn and tired shed has the potential to become a functional, organized, and even attractive addition to your backyard. By embracing your shed’s potential and tackling the necessary repairs, you’ll achieve a shed that’s as good as new, providing renewed storage capacity that lasts the test of time.


