A Beginner-Friendly Guide to Setting Up Off-Grid Power for Your Shed

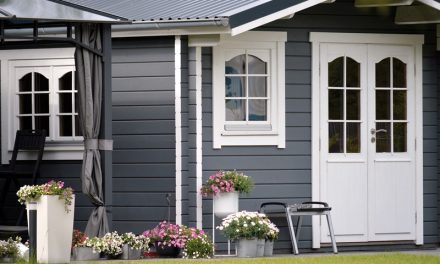
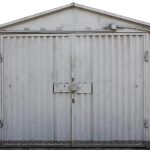
People today expect much more from their sheds than just “a place to store clutter.” A shed can be a simple workspace, a garden hut, a DIY corner, or even a quiet personal escape. No matter its purpose, whether you can conveniently access electricity often determines how usable the shed really is.
But running power from the main house is not only troublesome—it also involves wiring work and added cost. In comparison, a small, stable, plug-and-play off-grid power setup is far more beginner-friendly for most households.
Click here to learn more about transforming your shed.
1. Understand Your Shed’s Power Needs
The biggest hesitation people have when choosing a power station is: What capacity do I actually need?
In fact, you only need to do one thing—list the devices you’ll use.
Common shed power needs include lights, drills or power tools, security cameras, small fans, and sometimes charging your phone or Bluetooth speaker. Lighting and cameras use very little power, but power tools often have high surge power requirements, which is crucial to consider.
A tool that normally runs at around 1000W may surge to over 1500W at startup. So the power station you choose must not only have enough capacity, but its output power must exceed the tool’s peak demand.
As a simple estimate, if you occasionally use tools while keeping basic lighting on, a 1000–1500Wh power station is a safe starting point.
2. Choose the Right Off-Grid Power Source
2.1 Portable Power Station
If you don’t want wiring, drilling through walls, or hiring an electrician, a portable power station is the most user-friendly choice. It’s quiet, clean, and ready to use anywhere—and it’s safe to keep inside the shed.
Brands like Piforz integrate the inverter, protection systems, and charging management inside the unit, so you don’t need electrical knowledge—just plug in and use. You can even move it to the yard, garage, or patio as needed.
2.2 Solar Panels + Battery Storage

If you use your shed frequently or want it to “recharge itself,” adding one or two solar panels is extremely practical.
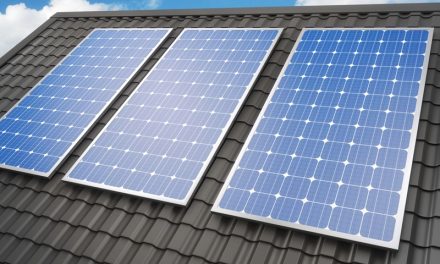
Australia has excellent sunlight conditions, so a 100–200W solar panel can steadily replenish your power station each day, giving you true off-grid independence.
Solar panels can be fixed to the shed roof or used as foldable panels you lay out in the yard during the day.
2.3 Gas Generators
Gas generators offer high power, but they are noisy, smelly, and must never be used indoors, making them unsuitable for a home shed. Unless it’s for construction work, most modern households prefer battery power.
3. The Simplest Off-Grid Setup for Most Sheds
If this is your first time powering a shed, you don’t need anything complicated.
A very cost-effective setup is: Portable Power Station + Solar Panels
This combination easily handles lighting, short-term tool use, security cameras, fans, and charging devices—without any installation barriers.
Place the power station in the shed, place the solar panel outside or on the roof, charge during the day, and your evening lighting will be no problem. And if needed, you can take the power station elsewhere.

4. Step-by-Step: How to Set Up Power in Your Shed
Here are a few simple and practical setup ideas. No major work needed—your shed will light up and your tools will run easily.
4.1 Place the Power Station in a Dry, Ventilated Area
Keeping it near the workbench is convenient—easy to reach and easy to check the battery level. Avoid areas with direct sun exposure or humidity. Keeping the device dry and ventilated helps extend battery life.
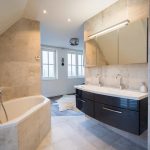
4.2 Install LED Lighting in the Shed
Sheds don’t require complex wiring. A few LED strips can solve the lighting problem. A 10W strip is bright enough for daily tasks, and LEDs are very energy-efficient, using little power even if left on for hours. For more convenience, choose LED strips with a switch or remote control.
4.3 Keep Solar Panel Wiring Simple
If using foldable solar panels, the easiest method is to run the cable through a door or window. When you’re done, pack it away—no need to modify the shed structure.
If using panels long-term, mount them with two screws on the roof, run the cable along the eaves, and keep the installation neat and secure. As long as the connector matches, plug in and the power station will start charging.
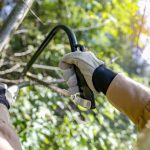
4.4 Use Power Tools Only When Needed
Common shed tools like grinders, drills, and small table saws don’t need dedicated wiring, but you should check whether your portable power station can handle their wattage before purchasing.
When needed, simply plug the tool into the power station. When done, unplug it—quick, safe, and flexible. For occasional small projects, this is far easier than running a dedicated power line.
5. Safety & Longevity Tips for Off-Grid Shed Power

Just remember a few basic habits:
- Don’t overload the power station—avoid running multiple tools simultaneously.
- Avoid running the device for long periods in extreme heat or cold.
- If your shed gets dusty or damp, check the power station area occasionally to keep it clean and ventilated.
- Secure solar panels well, especially in windy regions—use extra zip ties or metal brackets if needed.
6. Conclusion
If you’ve always wanted your shed to light up and power your tools, without the hassle of wiring, then a small off-grid setup using a portable power station and solar panels is the most beginner-friendly and cost-effective solution for typical households.
You don’t need electrical knowledge, permits, or installation work—within an hour, you can set up a stable, quiet, and clean power system that turns your shed into a truly functional space.


