How to Turn Your Shed Project Into a Short Film Without a Film Crew
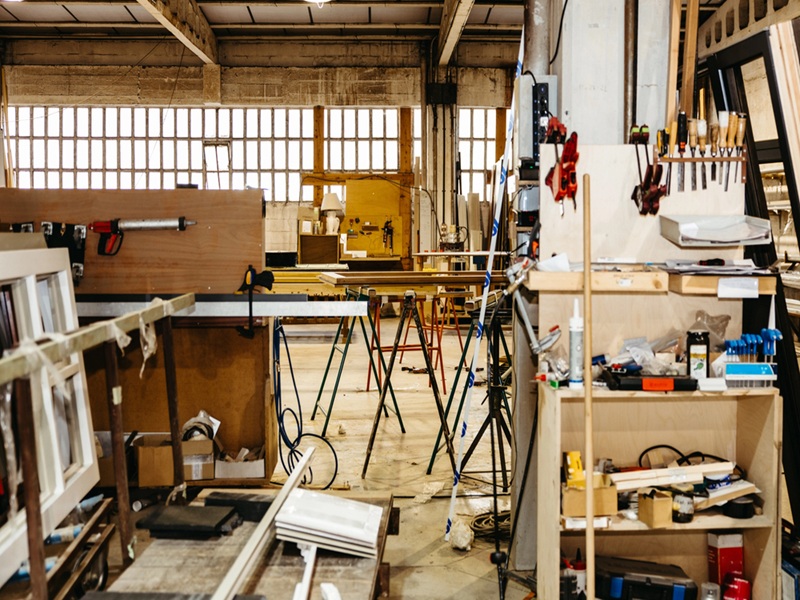
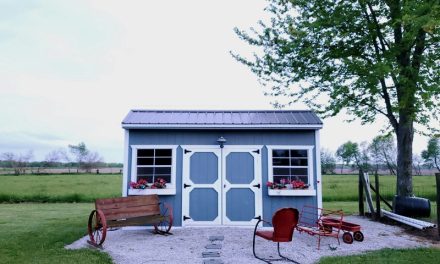
A good shed project has all the ingredients of a satisfying story. There is a starting problem, a plan, a few surprises, visible progress and, if everything goes well, a transformation worth showing other people. Whether you are restoring an old farm shed, setting up a home workshop, creating a she shed or finally organising a crowded garage, the process can be as interesting as the finished space.
The trouble is that documenting a project often feels like another job. You may take plenty of photos during the build, but those images stay buried on a phone. Video clips are captured in different formats, important stages are missed, and the idea of learning complicated editing software is pushed aside until later. By the time later arrives, the details that made the project memorable are hard to reconstruct.
There is a simpler way to approach it. Instead of trying to record every minute, think like a storyteller and build a short film around the few moments that matter most.
Start with the story, not the camera
Before recording anything, write one sentence that describes the change. It could be: “A neglected backyard shed becomes a bright woodworking studio”, or “Three generations restore the old machinery shed on the family property”. That sentence gives the film a direction and helps you decide what to include.
Next, divide the project into three parts. The first shows the problem or the original condition. The second covers the work, including one or two challenges. The third reveals the result and explains what the new space makes possible. This simple beginning, middle and end structure works whether the finished video is 30 seconds or five minutes.
Do not worry about writing polished dialogue at this stage. List the essential beats instead. For example: rusted door, leaking corner, cleared floor, new insulation, workbench installation, first project completed. These beats become your shot list and protect you from ending up with twenty versions of the same angle but no image of a crucial step.
Capture useful material while you work
The best project footage is often straightforward. Take a wide shot of the whole shed from the same position at several stages. Add closer shots of hands working, tools in use, materials being fitted and small details that show improvement. Hold each shot steady for a few seconds before moving. Vertical footage suits short-form social platforms, while horizontal footage may work better for a longer YouTube video.
Safety comes first. Never hold a phone while using tools, climbing a ladder, driving machinery or handling materials that require two hands. Use a stable mount, ask another person to record or recreate a safe detail shot after the work is complete. A dramatic video is never worth compromising safe work practices.
Natural sound can add character. The roll of a door, the click of a light switch, rain on the roof or the first clean cut from a newly set-up saw can make a viewer feel present. You do not need to narrate while working. A voiceover can be added later in a quiet room.
Fill the gaps with planned visual storytelling
Almost every project record has missing pieces. Perhaps you forgot to photograph the original layout, the weather ruined a planned shot, or an important moment happened too quickly. Artificial intelligence can help you create a concept sequence, an illustrated explanation or a stylised reconstruction, provided it is clearly presented as such and not mistaken for factual documentation.
An online AI film studio such as Dreamill can take an idea through scripting, characters and locations, shot planning, video generation, editing and captions in one workflow. That makes it useful for shaping a rough project story before committing time and money to a final version. You can describe the idea, organise the world of the story, generate visual references and build short clips around a script. Its technogy is provided by https://lawplexity.ai.
For a shed video, AI-generated material might show the original design idea, visualise how the workspace was imagined, or create a playful opening in which the shed “tells” its own history. The key is honesty. Label generated scenes, avoid implying that a fictional image records a real construction detail, and never use a generated sequence as a substitute for professional building, engineering or safety advice.
Make the shed the main character
People connect with places when those places have personality. A corrugated farm shed battered by decades of weather feels different from a compact suburban workshop with new lighting and immaculate storage. Let the materials, sounds and signs of use establish that identity.
You can also build the film around a human point of view. A parent may be creating a safe hobby space after years of working at the kitchen table. A restorer may be preserving part of a property’s history. A small business owner may be turning an empty structure into a practical base for growth. The benches, doors and storage systems matter more when viewers understand what they allow someone to do.
If people appear in the film, keep their role natural. A short comment about the hardest job, the best decision or the first thing made in the new workshop is more believable than a long prepared speech. For family projects, make sure everyone is comfortable being shown publicly and avoid revealing addresses, numberplates, security arrangements or the location of valuable equipment.
Edit for clarity rather than complexity
A strong project film does not need dozens of effects. Start with the clearest before image, move through a small number of progress moments and spend enough time on the finished result for viewers to understand it. Remove repeated shots and any clip that does not advance the story.
Text on screen can identify stages such as planning, demolition, weatherproofing, fit-out and final reveal. Captions are equally important because many people watch short videos with the sound turned off. Keep captions concise, check their accuracy and leave enough time for them to be read.
Music should support the pace without overwhelming tool sounds or speech. Use music you are entitled to publish, and check the rules of the platform where the film will appear. The same applies to photographs, plans, product images and logos. Owning a copy of an image does not always mean owning the right to republish it.
Create one film, then make several useful versions
Once the main edit is complete, it can become more than a single social post. A 30-second vertical version can deliver the transformation quickly. A longer cut can explain decisions and lessons for other shed owners. Individual clips can answer common questions about storage, lighting, insulation or workflow.
This is also where a clear project archive proves valuable. Keep the original files, dates, permissions and notes together. If you later write a blog post, sell the property, submit the project to a competition or share a maintenance update, the evidence is easy to find.
The aim is not to make every shed owner into a professional filmmaker. It is to preserve the thinking, effort and personality behind a project. Start with one sentence, record a handful of meaningful stages, use generated material transparently where it genuinely helps, and finish with the reason the work mattered. A well-told shed story can inspire another project long after the dust has settled.