How to Turn Your Garden Shed Into a Golf Simulator (And Why It’s the Best Decision You’ll Make This Year)
There’s a particular kind of frustration that comes with being a golfer in Australia. The courses are stunning, the weather is generally on your side, but between work, family, and the sheer cost of green fees adding up week after week, actually getting out to play as often as you’d like? That’s another story.
Which is exactly why the garden shed golf simulator has become one of the fastest growing home improvement projects across the country. It sounds ambitious. It might even sound expensive. But done right, it pays for itself faster than you’d expect and delivers something a course membership never can: a round of golf at 10pm on a Tuesday in your tracksuit.
Here’s how to plan yours.
Step One: Assess Your Shed (Honestly)
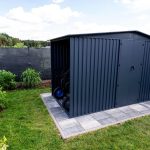
Before you get carried away browsing setups online, grab a tape measure and spend ten minutes in the shed with your 7 iron. The absolute minimum you’re working with for a functional simulator is roughly 3.5 metres in length, 2.5 metres wide, and 2.7 metres of ceiling height. That last number is the one that kills most projects before they start.
You need enough vertical clearance for a full swing without catching the club on anything overhead. If you’re a taller golfer or you’ve got an aggressive arc, push that ceiling requirement closer to 3 metres. Width is your next concern. You want room to set up for both left and right handed play without your trailing elbow kissing the wall on the backswing.
If your existing shed is undersized, don’t panic. A shed extension or a purpose-built structure is often cheaper than people assume, and building it to simulator spec from the start means no compromises later.
Step Two: Sort the Basics Before You Think About Tech
This is where a lot of people go wrong. They spend weeks researching launch monitors and simulation software, then end up with a technically impressive setup installed in a poorly lit, draughty, damp shed that’s miserable to spend time in.
Get the fundamentals right first.
Insulation matters more than you think. A shed with no insulation in an Australian summer turns into an oven by mid-morning. Install reflective foil or bulk insulation in the walls and ceiling and the space becomes genuinely comfortable year-round. A small split system or portable air conditioner handles the rest.
Lighting needs to be bright and even, without glare on the impact screen. LED strip lighting around the perimeter rather than a single overhead bulb is the move. You want the space to feel like a room, not a storage unit.
Flooring deserves thought too. A good quality artificial turf mat over the top of rubber underlayment gives you a realistic feel underfoot and protects the subfloor from divots and foot traffic. If budget allows, run the turf across the whole floor. It changes the atmosphere of the space entirely.
Step Three: Choose Your Simulator Setup
This is where it gets fun. The simulator market has matured significantly and there are now complete packages that take the guesswork out of what to buy, what works together, and what you actually need versus what’s just nice to have.
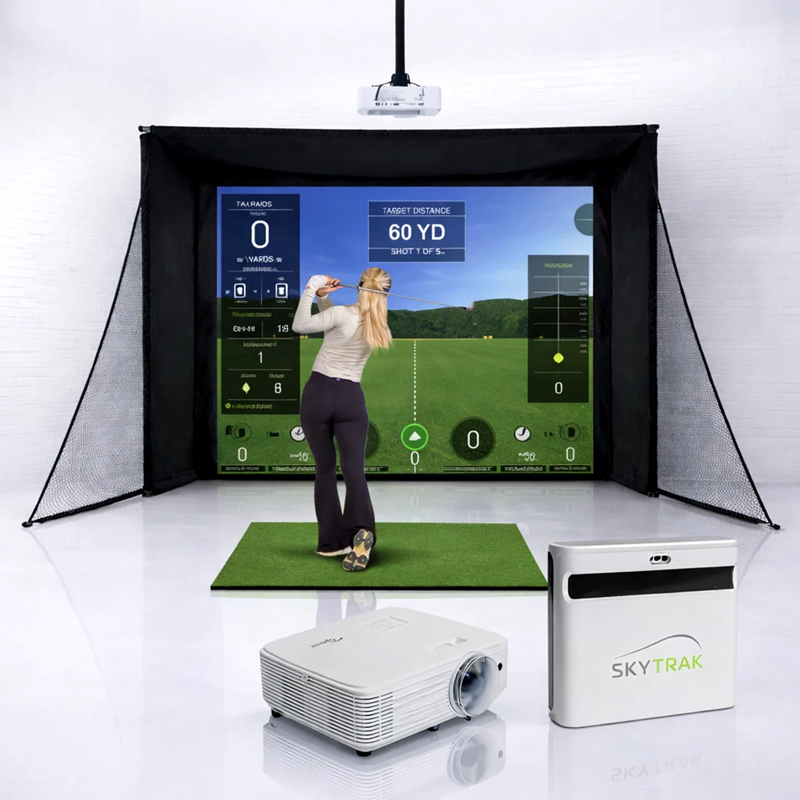
A quality setup will typically include an impact screen, a projector mounted at the right throw distance, a launch monitor to track ball and club data, and software that ties it all together into a playable simulation of real courses.
The range of golf simulators available now covers everything from entry-level setups ideal for casual practice and family entertainment, through to tour-grade systems with dual tracking cameras and millimetre-accurate data that serious players use for structured improvement. The key is matching the setup to how you’ll actually use the space. If it’s mostly family fun and a few beers with mates after work, you don’t need the same spec as someone running their handicap down.
Step Four: The Build Order That Saves You Rework
If you’re doing this yourself, sequence matters.
Start with any structural changes to the shed. Then insulation and lining. Then electrical, because you need dedicated circuits for the projector, any heating or cooling, and your lighting, and running cable after everything is lined out is a nightmare. Then flooring. Then mount your screen frame and projector mount before the turf goes down, so you’re not working around it.
Leave the projector and electronics to last. They’re the most sensitive to dust and the easiest to damage during the rest of the build.
What to Budget
A realistic entry-level shed simulator setup, including shed preparation, a quality simulator bundle, and the basics to make the space comfortable, sits somewhere in the $5,000 to $10,000 range depending on what you’re starting with.
Sounds like a lot until you price out a golf club membership, calculate the cost of driving range sessions over a year, or think about what a proper home gym conversion costs. Put against any of those comparisons, a shed simulator starts looking like exceptional value.
The Part Nobody Tells You
The best thing about having a simulator at home isn’t the data. It’s not the course selection or the ability to play Augusta without getting on a plane. It’s that it removes every single excuse not to practice. No booking times, no drive to the club, no wondering if the weather’s going to hold. The club and the simulator are thirty seconds from your kitchen. You will use it more than you expect, and you will get better faster than you think.
That’s the real return on investment. And the shed was just sitting there anyway.