
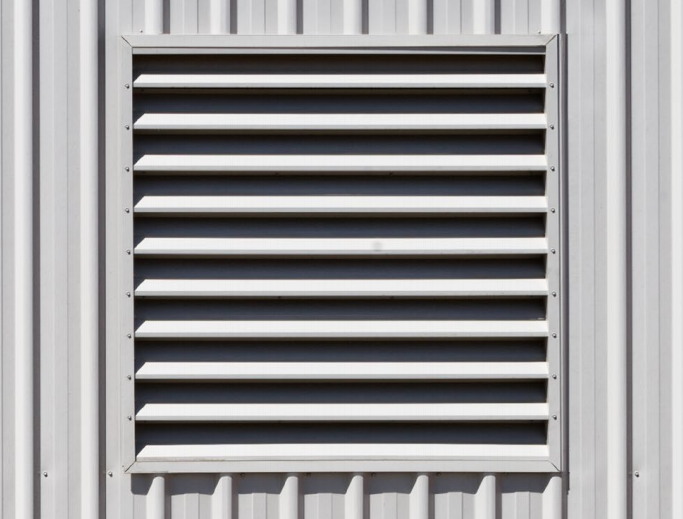
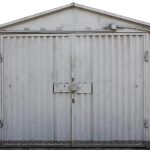
Are you looking for the right steel wall vents for your shed? Look no further as we are offering you the newest colorbond steel wall vents. These vents are easy to install, visually appealing, strong and durable. These vents are also ideal for any industrial, commercial shed or garage environment.
But why do we need wall vents?
Having proper ventilation in your Shed keeps that air fresh and healthy indoors. High levels of moisture, odours, gas, dust and other air pollutants could build up. With that, fresh air is needed to diminish these pollutants and to keep the air safe.
Features of Steel Wall Vents:
- External flange for face fixing
- Bird mesh as standard
- Units can be joined
- Made in Australia
We have 5 standard sizes in the range:
- 600H x 600W x 75D
- 600H x 1200W x 75D
- 900H x 900W x 75D
- 900H x 1200W x 75D
- 1200H x 1200W x 75D
How to Install:
Decide where your shutter goes (ideally in a trimdek or monoclad profile). Ensure the cut is in an area that has no
structural steel behind it.
Safely cut cladding to recommended opening size and install mullions (before you decide which install please read full instructions).
RETRO-FIT FACE FIX INSTALLATION
Insert the vent with the architrave over the cladding the arch will sit (Fig. 10 & 11) against the highest point of the cladding, lift the vent to the top of the opening to close gap and silicone for water proofing.


Once the vent is in place (minimum of 10-gauge screw) put one screw in the top side. At this point get the vent plumb then insert a screw at the top other side, Continue to screw off until complete (see Fig.4).

OPTIONAL INSTALLATION
The architrave of the vent sits on the flat into the valley (Fig. 3) of the cladding profile

Note: When cutting opening make the horizontal cuts approx. 50mm wider on both sides than the vertical cut (Fig. 7). This will allow the top architrave to slide behind the cladding

As above, make sure top architrave slides behind the shed cladding. Once the vent is in place (minimum of 10-gauge tek
screws) put one screw in at the top. Then get the vent plumb then insert a screw at the top other side.
At this point the bottom cladding will be stopping the architrave from allowing the vent to sit flat. This next process can be
difficult to achieve.
To get the bottom architrave behind the cladding just like the top. To do this the lower wall cladding must be partly removed and rolled back to allow the corner of the arc to slide in the 50mm cut one side.
Once this is finished, we recommend inserting the other side. Then completing the fixing process until complete.
Slide j-mould under cladding and fix with minimum of 3 screws each top and bottom.
Note: Screws fix at a minimum of 300mm spacing (see Fig. 1 and 2).


